How to persist data in Docker: Volumes
What are Docker Volumes and why do we need them? Two Examples
Today, we’re going to talk about persistence for containers, specifically Docker volumes.
if you want to check the Video, check this link youtu.be/Ff0OCpEwDnQ
Why Persistence?
Why do we need to talk about this? After all, outside of containers, persistence is an assumed feature! We always just use the filesystem of the running machine - even in a virtual machine.
But for containers, it’s a bit more complicated.
By default, all files created inside a container are stored on a writable layer for the container.
This means that the data doesn’t persist when the container is removed. Yes, you will lose all the cookies if you store them inside a container! Don’t do that.
Docker has two main options to solve this problem: volumes and bind mounts. For this article, we will focus on Docker volumes. (You can read more about bind mounts on the Docker site.)
VOLUMES
Volumes are one of the four Docker Objects - four key concepts you must understand to use containers properly.The Docker Objects are:
Images Containers Volumes Networks
Volumes are the preferred way to persist data in Docker
They are easier to back up or migrate than bind mounts. They are manageable using either the CLI or the Docker API. They can be more safely shared among multiple containers. Volume drivers let you store volumes on remote hosts or cloud providers, to encrypt the contents of volumes, or to add other functionality. New volumes can have their content pre-populated by a container. Higher performance on Docker Desktop for windows and Mac
Volumes are stored in a part of the host filesystem managed by Docker. The exact folder depends on the operating system. For example, on Linux, it's:
/var/lib/docker/volumes/
Non-Docker processes should never modify these files.
How do volumes work? When you create a volume, it's stored in a directory on the Docker host. When you mount the volume into a container, this directory is mounted in the container. Volumes are managed by Docker and are isolated from the other core functionalities of the host machine.
Simple and effective.
Let's see a demo.
Demo
To show volumes, you can type the following from your Docker host’s command line:
docker volume ls

As you can see, there are no volumes on this host.
To create a volume, type:
docker volume create volume1

Volumes are the preferred mechanism for persisting data generated by and used by Docker containers, for the reasons given before .
We can get important information about the volume by typing:
docker volume inspect volume1
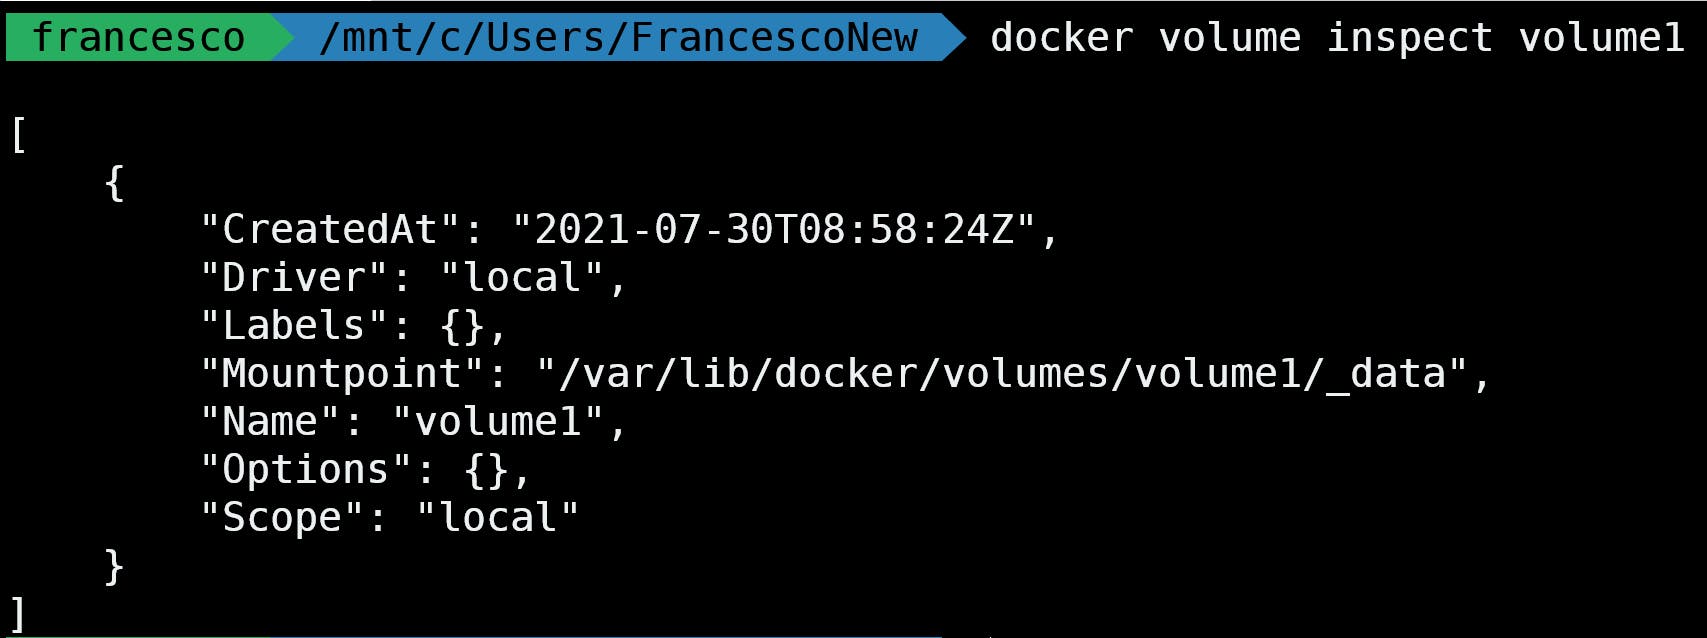
We can see some information here. However, there are no containers connected to this volume we’ve just created.
So how can we use a volume with a container?
When we run a container, we can specify the option -v, so the container will now use that volume to persist data:
docker run -it -v volume1:/app ubuntu bash
volume1is the name of the volume./appis the folder inside the container.

Since we don't have the Ubuntu image on our computer, Docker will first pull that image from Docker Hub, the main public container registry maintained by Docker where many images are stored.
Let’s inspect the volume:
docker volume inspect volume1

Now we can see that the volume is connected to the container. The part shown on the left is the name of the volume; the part on the right is the destination path.
Now let's check the filesystem of the container:
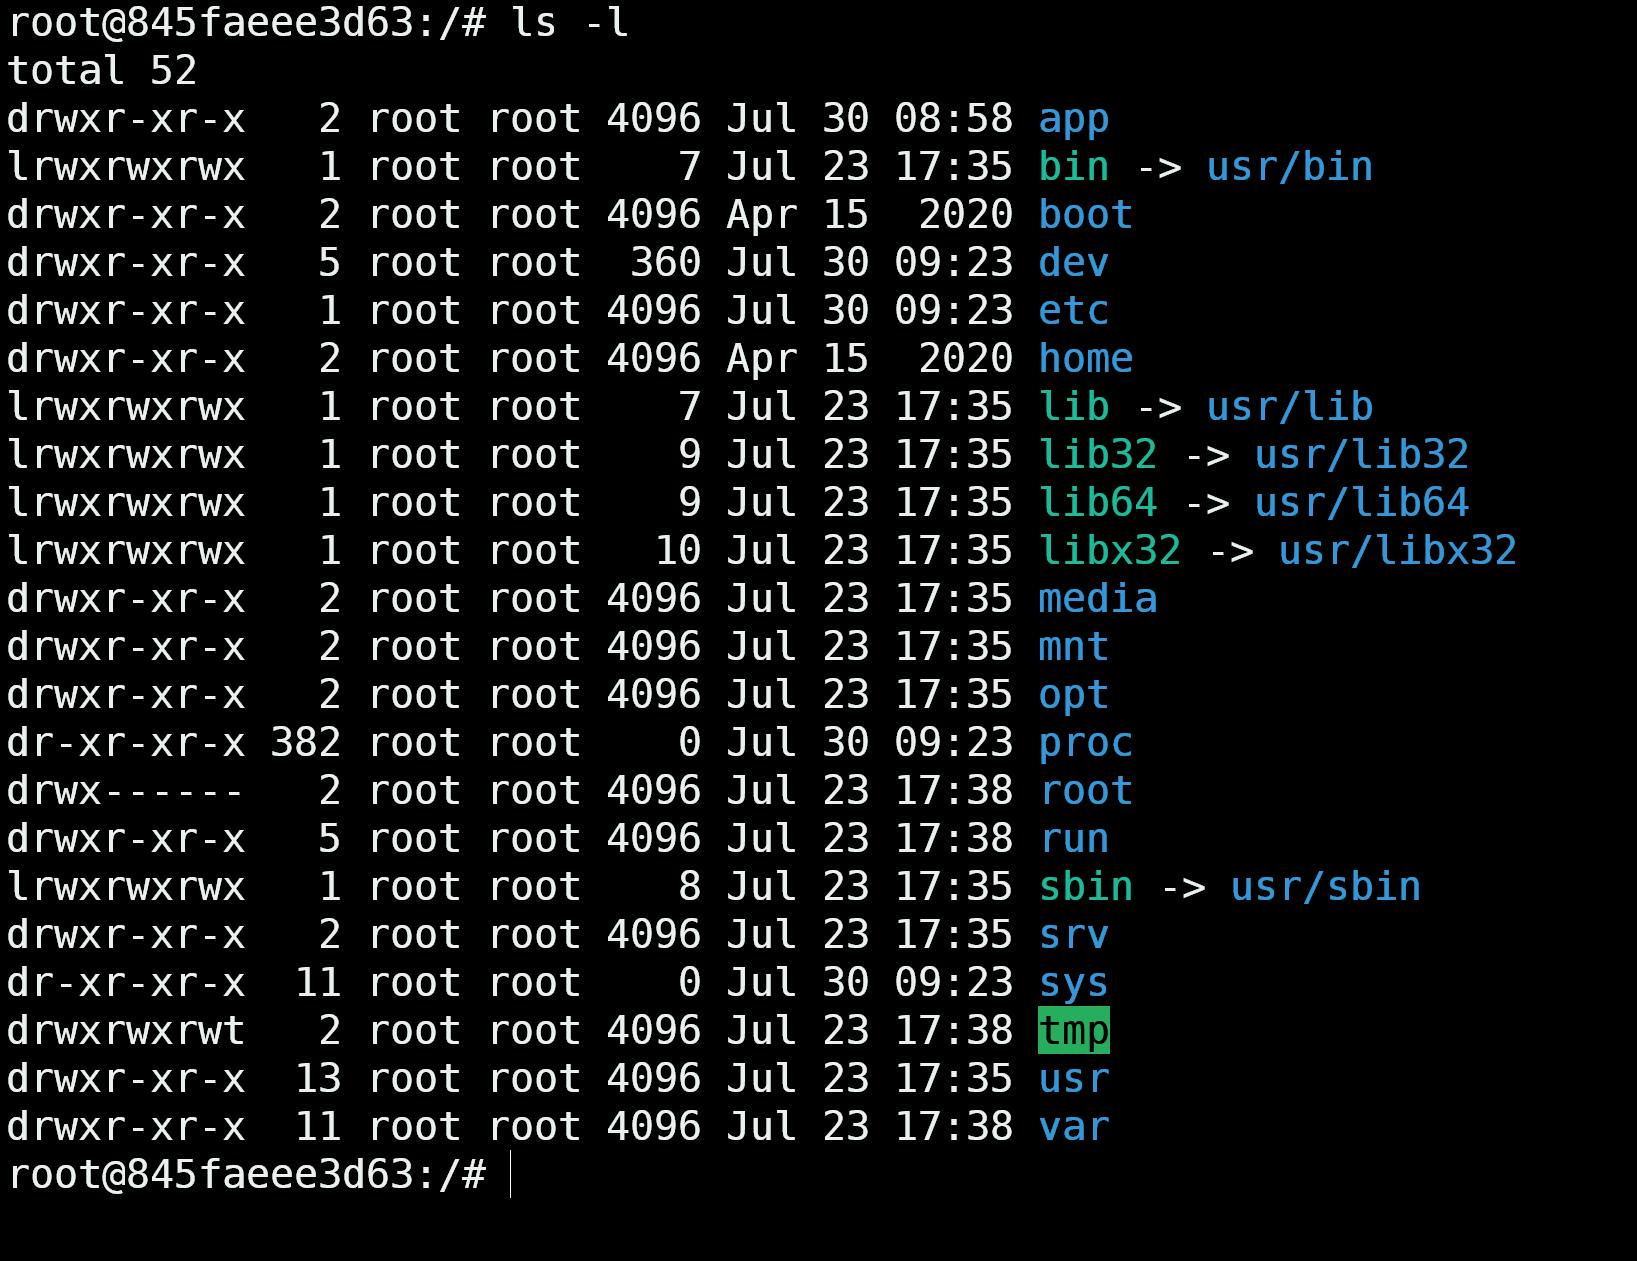
Now let's test persistence. Let's get into the app folder and create a new file. Well call it TinyStacks (of course):
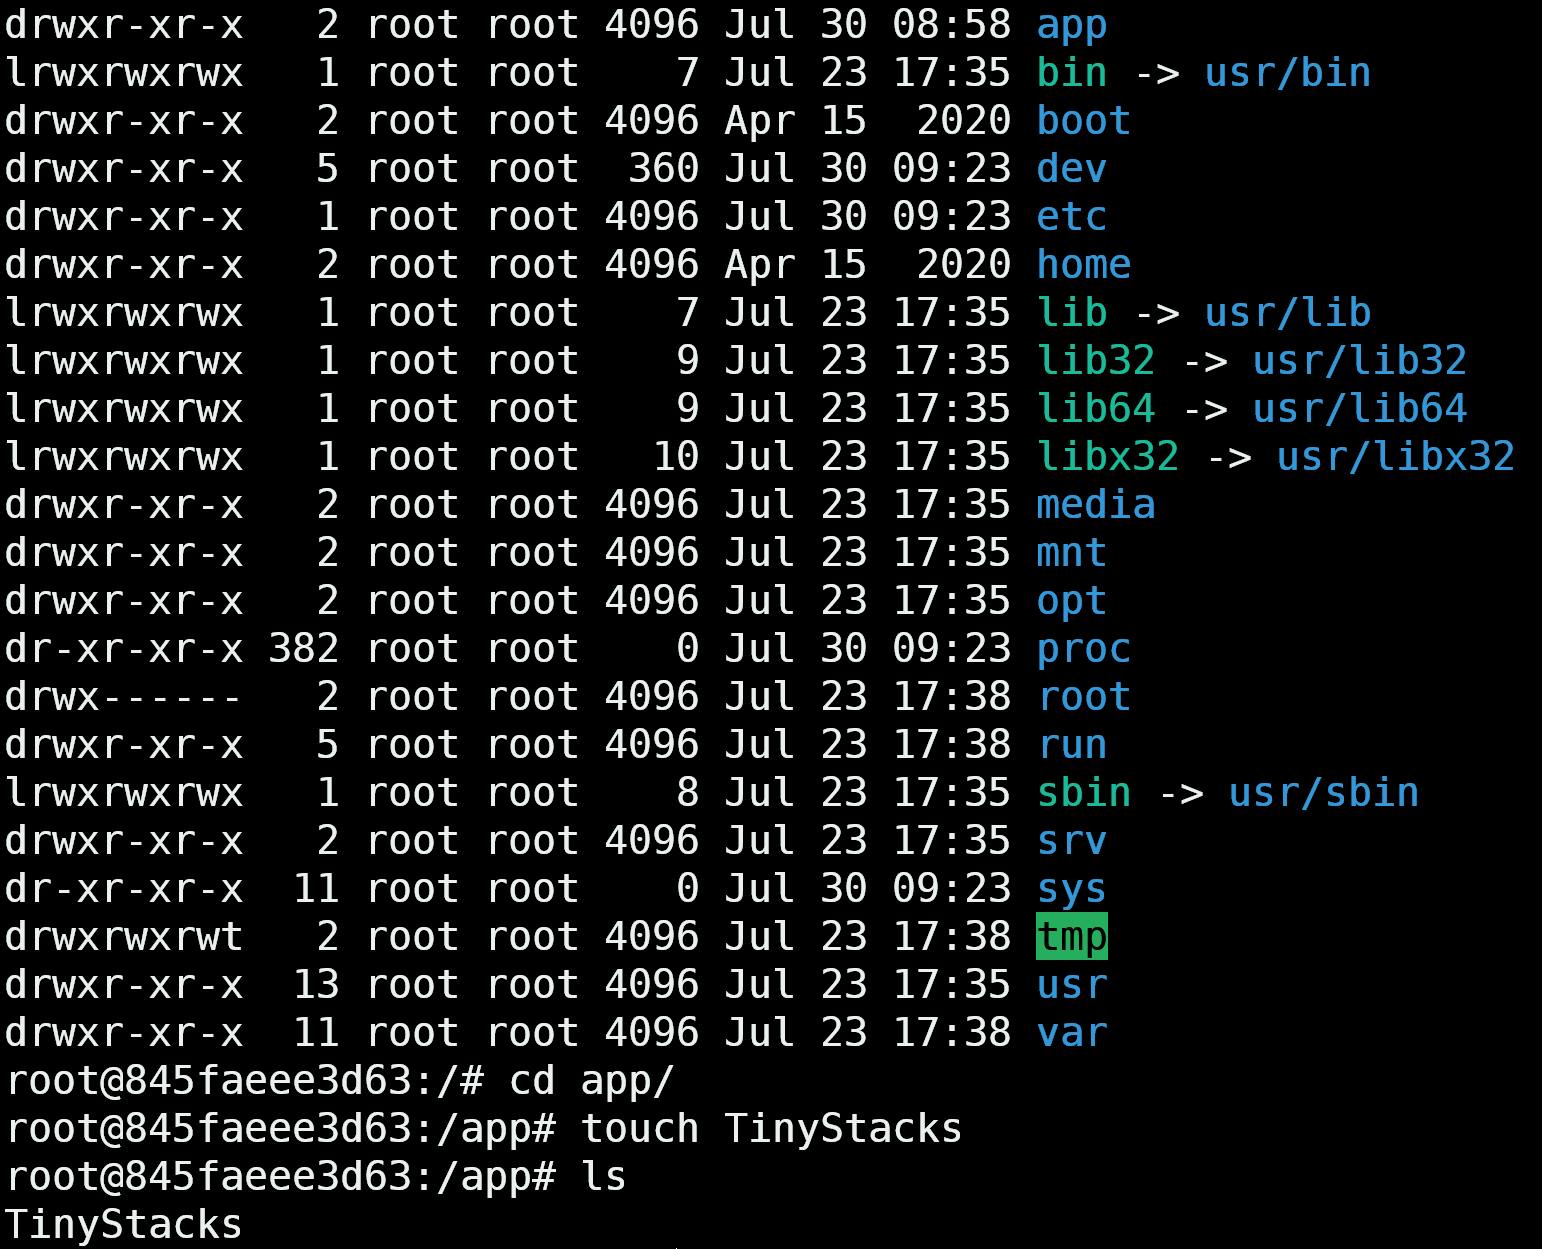
And then, let's exit:

Let's remove the container:

And now let's create another container, using the same volume:

And there we go, there is our TinyStacks folder!
Now, this is great. But the best use case for using volumes is with a database.
POSTGRES
For example, we can use Postgres. Postgres, also known as PostgreSQL is, according to their own definition,"a powerful, open-source object-relational database system with over 30 years of active development that has earned it a strong reputation for reliability, feature robustness, and performance."
And this is true, it's pretty powerful. Also, since it’s popular, if you encounter a problem, you can find tons of resources online.
You can install Postgres using a link on the official site....
But we are NOT going to do that.
Instead, let's use an existing image on DockerHub!

Now how can we use this image to run our Postgres container?
POSTGRES EXAMPLE
docker run -d --name postgresexample -e POSTGRES_PASSWORD=12345 -e POSTGRES_USER=francesco -v pgvolume:/var/lib/postgresql/data -p 5432:5432 postgres:12
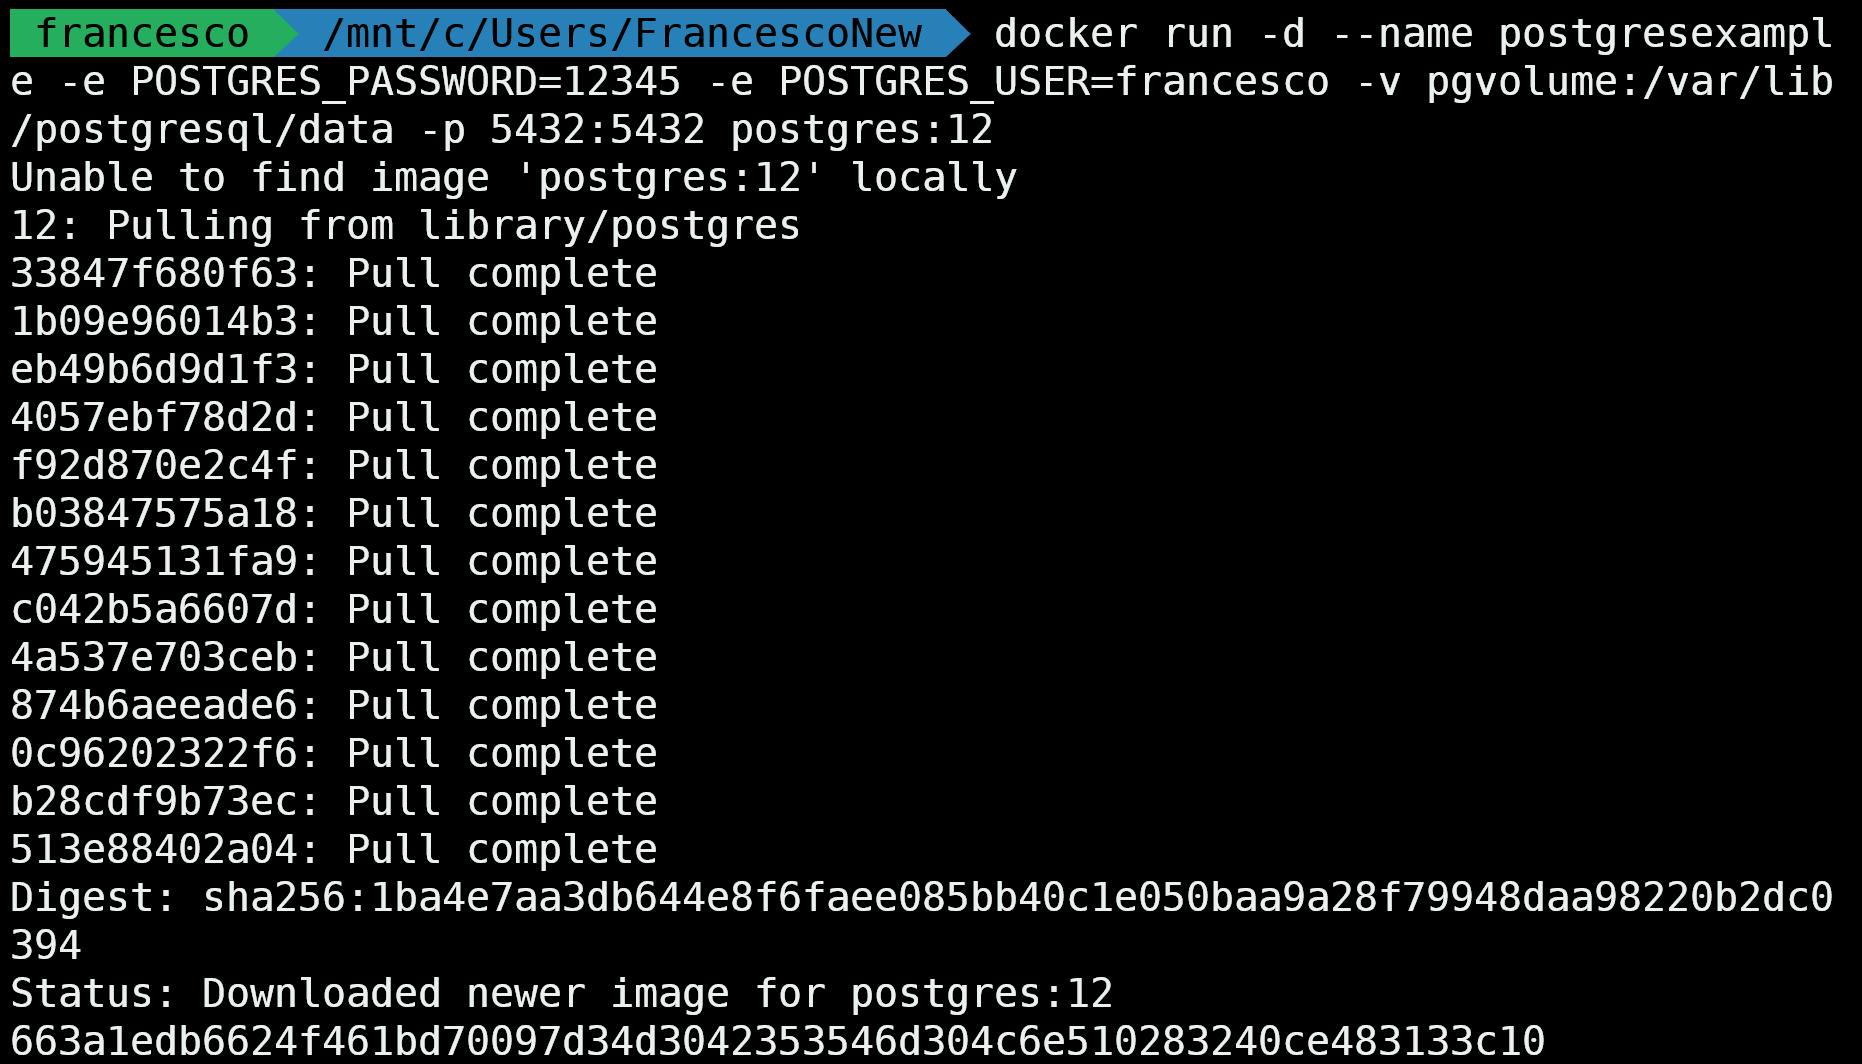
Now, if we type:
docker volume ls
We see something like this:

We see the previous volume, but also a new one. Why? Because if we define a volume when we run a container, and that volume does not exist, Docker creates it for us. Thank you, Docker!
Ok, now let's use the docker exec command to get into the existing postgres container and use psql. psql is an interactive terminal usedto create tables and inserts via SQL from the command prompt:

docker exec -it postgresexample psql -U francesco
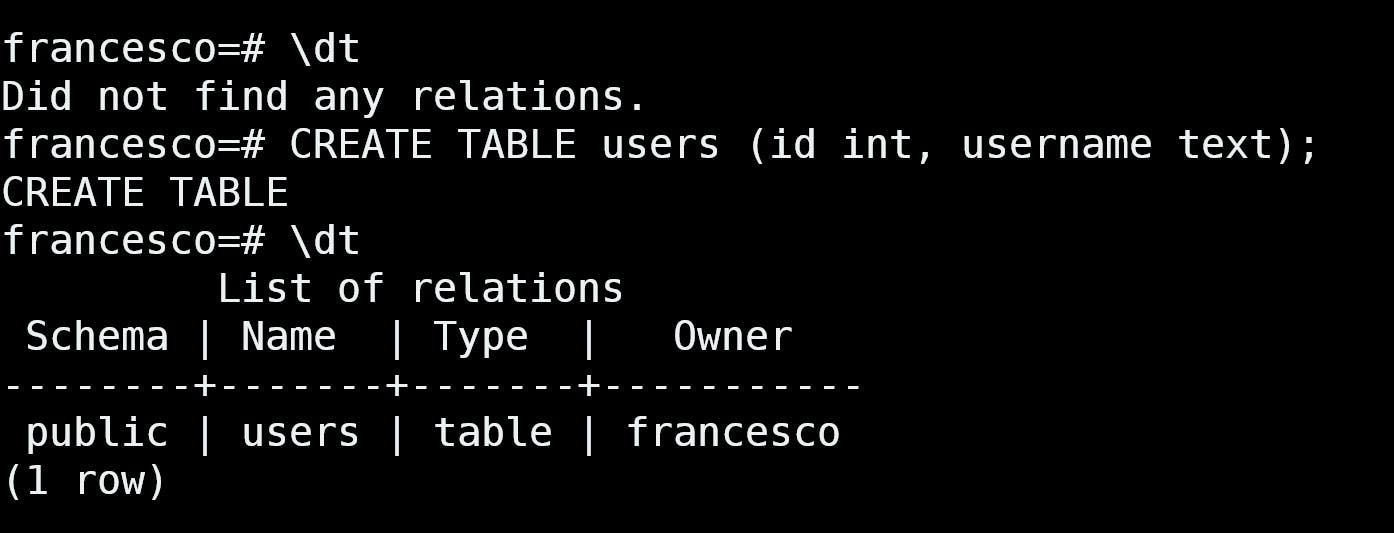
Let's run some SQL commands. To check the existing relations and tables, type:
\dt
We don't find any relations. Which is expected.
Then we can create a table using a SQL statement:
CREATE TABLE users (id int, username text);
We’re creating a table with the field id as an integer and the field username as text. Remember the semicolon at the end of the command!
If we type \dt again, now we see the table:
Okay, let's make a couple of inserts into this database.
First insert:
INSERT INTO users (id,username) VALUES (1,'mario');
Second insert:
INSERT INTO users (id,username) VALUES (2,'luigi');
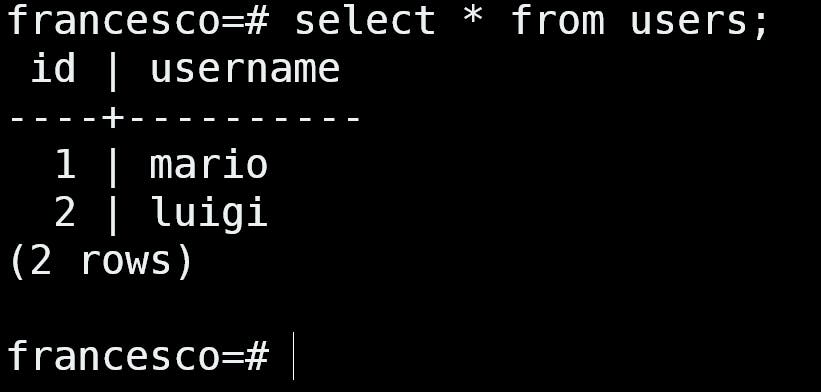
To check these inserts, we can type:
select * from users;
Now let's exit the psql container:

Let’s stop and remove the existing container:
docker rm -f postgresexample
As a side note, we can see that, even if we remove the Postgres container, the volume is still there.Let's check it:
docker volume ls

Now let’s run another Postgres container from the same image (for Postgres compatibility), and using the same volume (this is important):
docker run -d --name newpostgresexample -e POSTGRES_PASSWORD=12345 -e POSTGRES_USER=francesco -v pgvolume:/var/lib/postgresql/data -p 5432:5432 postgres:12
This time, since we already had the postgres:12 image, it runs almost instantly:

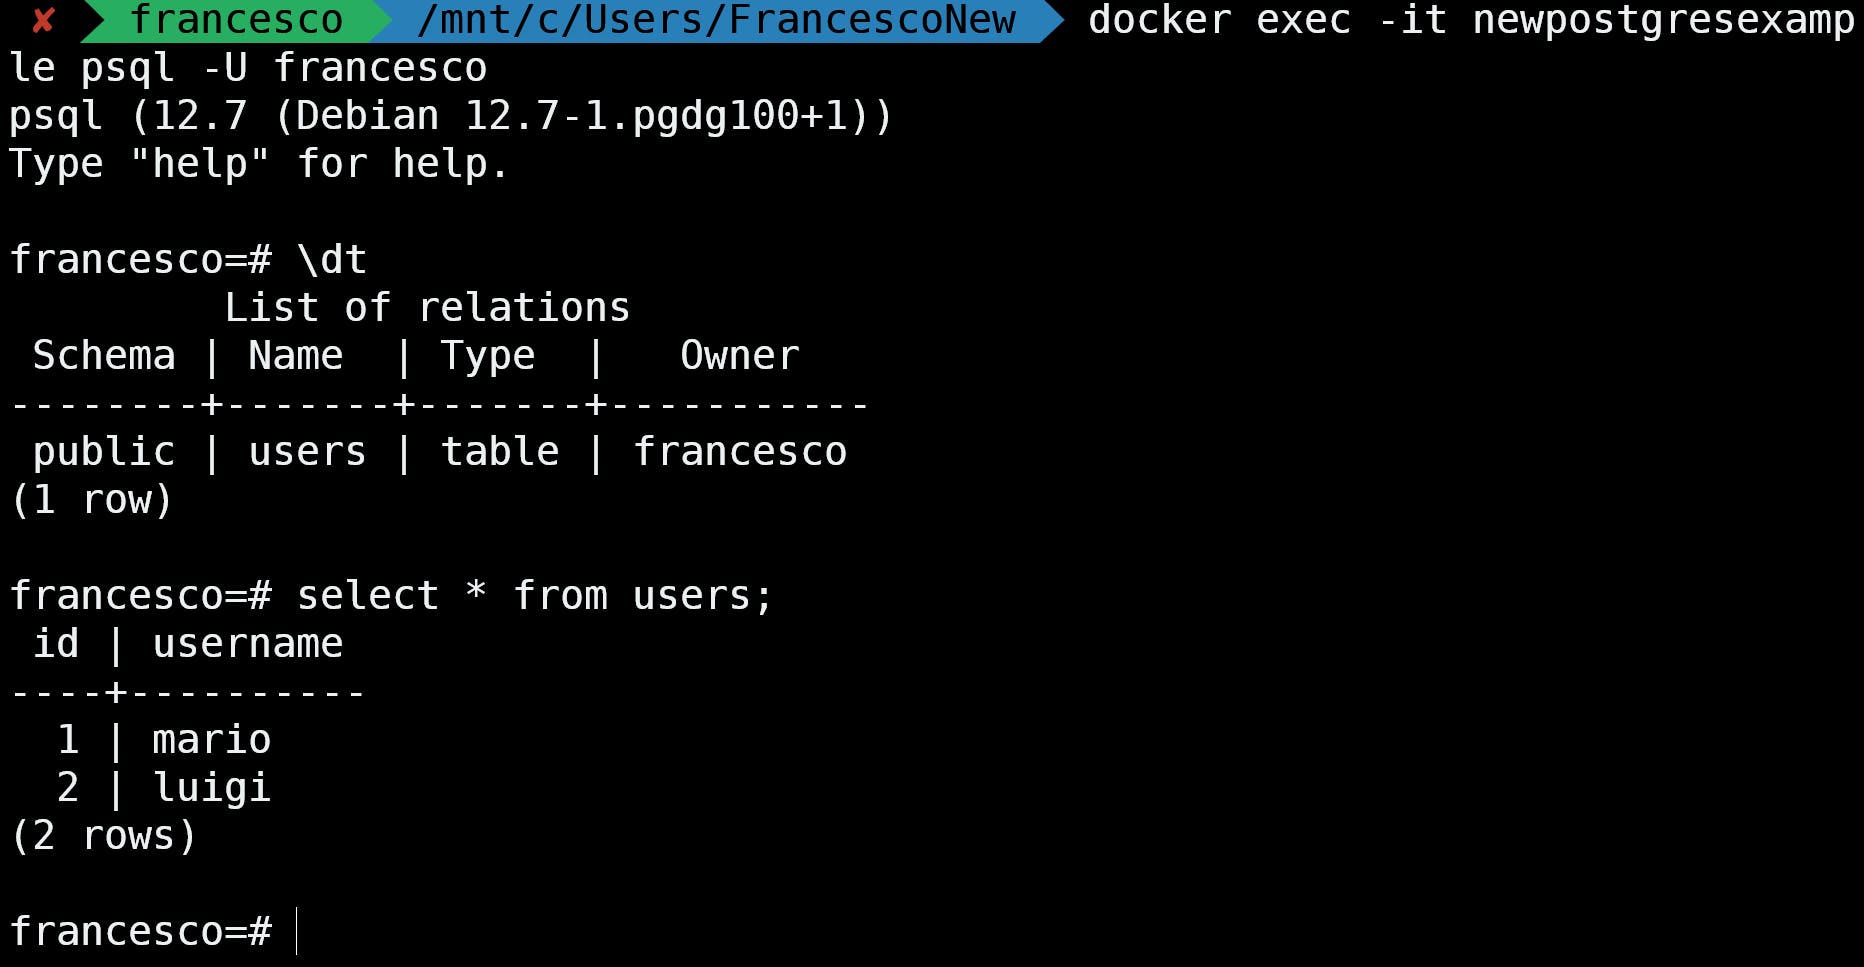
Let's get inside the container again:
docker exec -it newpostgresexample psql -U francesco
As you can see, we haven’t lost our data!
In the next article, we’ll see a much better way to use volumes with the command docker compose and with a docker-compose file.
if you want to check the Video, check this link youtu.be/Ff0OCpEwDnQ

