
Launch an Express Typescript Server on AWS that updates on "git push"
A simple guide to run any service on AWS with a CI/CD pipeline

I worked at AWS for a while, then started a company! I've grown teams, seen everything go down, developed products, and maintained services. I enjoy getting paged while taking long walks on the beach.
Express is a super-simple server framework built on Node.js. With Express, you can get a server up and running on your machine in like a minute. There are a million ways to launch that server on AWS, but those ways all have varying pros and cons. For most new projects, I think the focus should be on building a system that is easy to develop and push. That means that deployments should be as hands-off as possible, and everyone working on your project should only have to collaborate through git. In this post, I'll show you how to build infrastructure on AWS that lets you push code without having to worry about anything else!
At a high level, here are the steps required to make it work:
- Clone a template repository on github
- Create an image in Elastic Container Registry
- Create a cluster and service in Elastic Container Service with Application Load Balancer
- Create a CodePipeline pipeline and CodeBuild deployments
- Push a change to the repo and watch it deploy!
A quick note on cost before we get into the steps in more detail: we'll be launching things in AWS, I've done my best to keep everything within free tier offerings. The only service that's not in free-tier is ECS Fargate, which will cost around $0.04/hour
Big picture - this is what we're trying to set up on AWS:
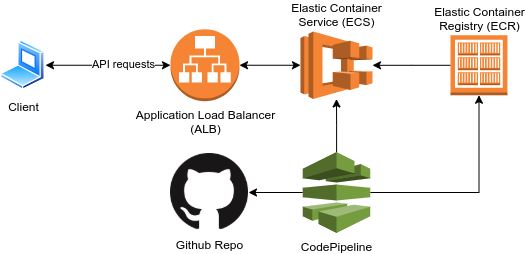
Each time you push your code to git, CodePipeline picks up the changes and builds an image. That image is pushed to ECS, where the code runs. Requests are made to the ECS service via an ALB. Scaling is super easy - all we need to do is increase the size or number of tasks running in the ECS service.
Clone a template repository on Github.
First, log on or register at github.com. Then, navigate to this AWS-focused Express template. Click on the big green button that says "Use this template", and enter a name for your new repo. You can also choose to make your repo private. For this blog, I use the name "blog".

In the repo you just created, I'd like to draw your attention to 4 files - src/server.ts, Dockerfile, build.yml, and release.yml.
- src/server.ts contains all of our routes. For now, we only care about the "get" on /ping and /item.
- Dockerfile contains instructions to use the server as a Docker container.
- build.yml and release.yml contain instructions to build and release the docker file
Templates are also available for flask, spring, and django.
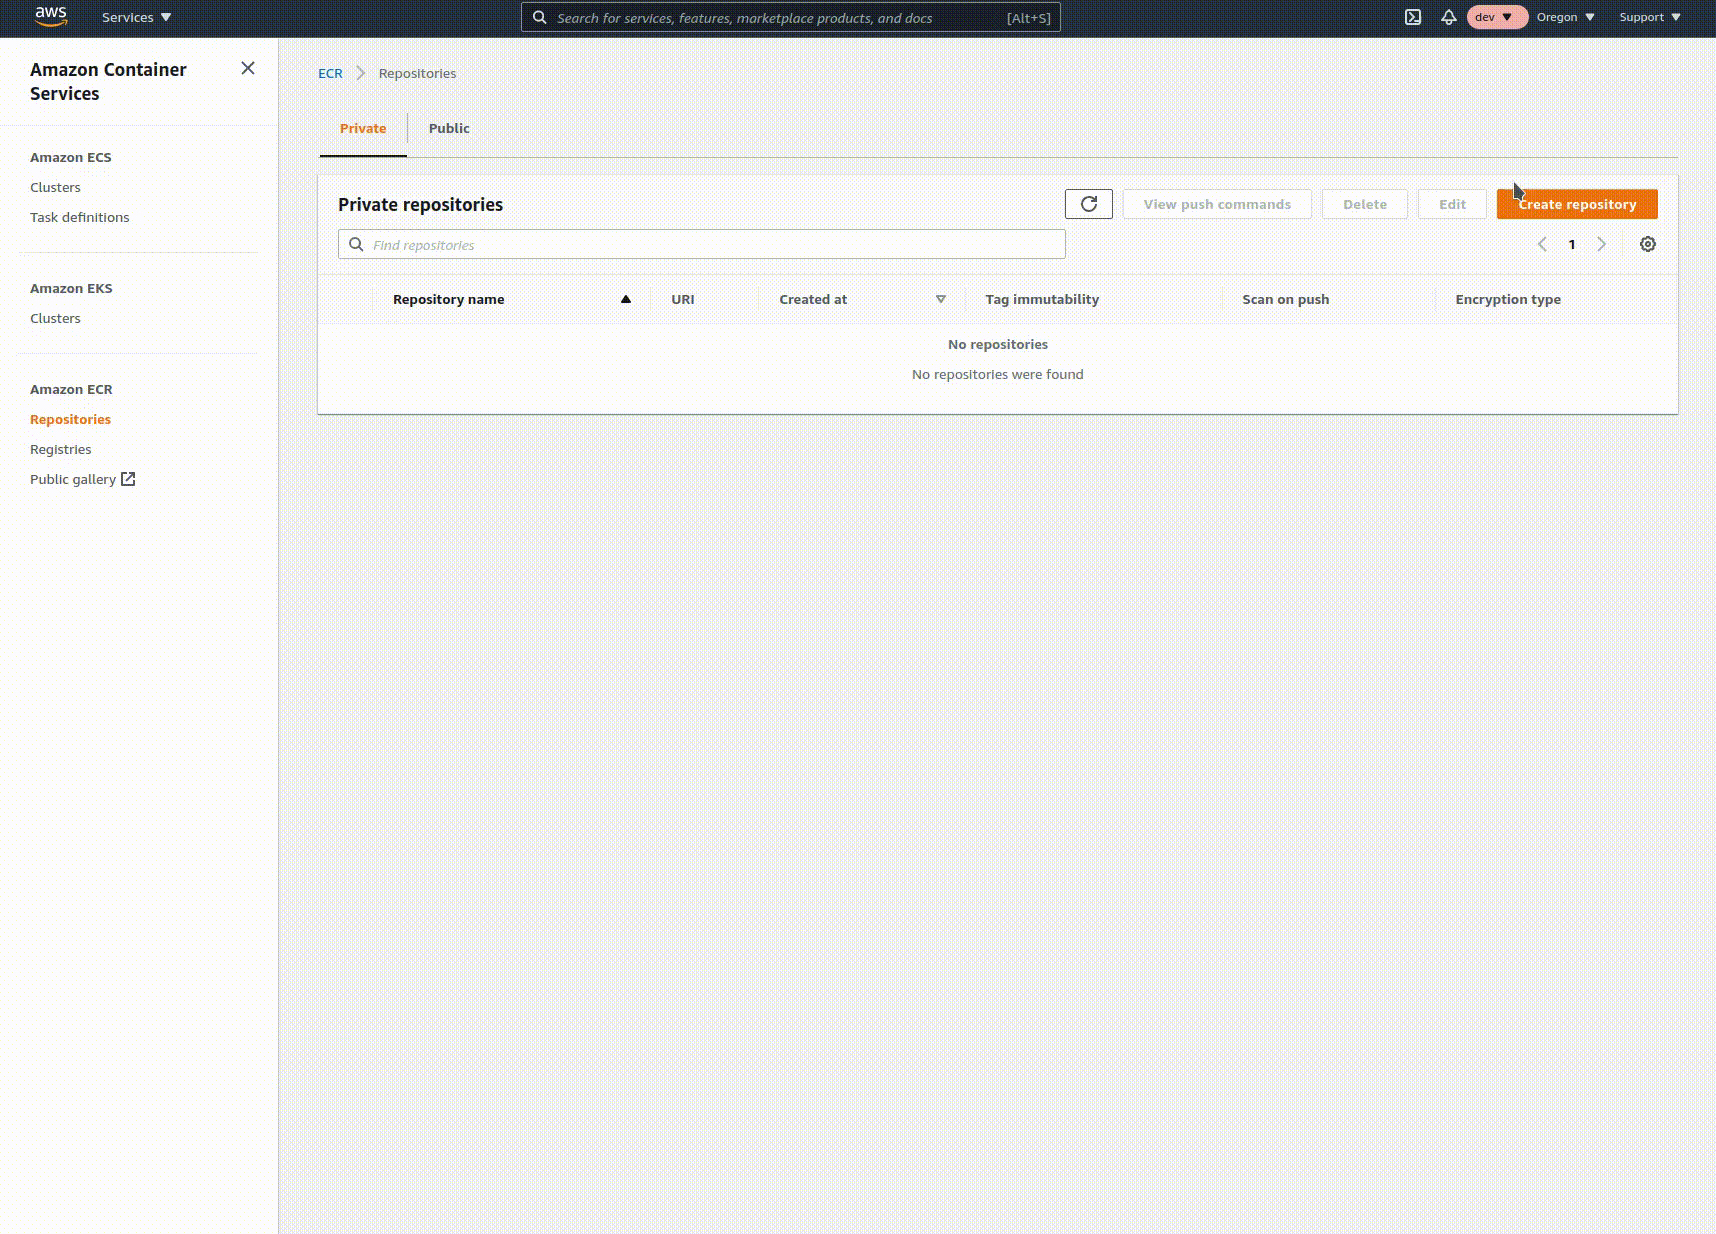
Create an image in ECR
Log on or sign up for an AWS account, then navigate to the Elastic Container Registry console. Click on "Create repository", enter the name of your repo, and click create. Copy the URI from the list view, you'll need it for the next step. This repository holds the built images of your code in a way that's usable by other AWS services.
Create a cluster and service in ECS with ALB
Elastic Container Service and Application Load Balancer will be used to serve actual traffic to your servers.
ALB
Let's start with the Load Balancer! Application Load Balancer uses simple rules and listeners to map requests directly to other AWS resources. Here, we're going to use it to direct traffic to the ECS service we're about to spin up.
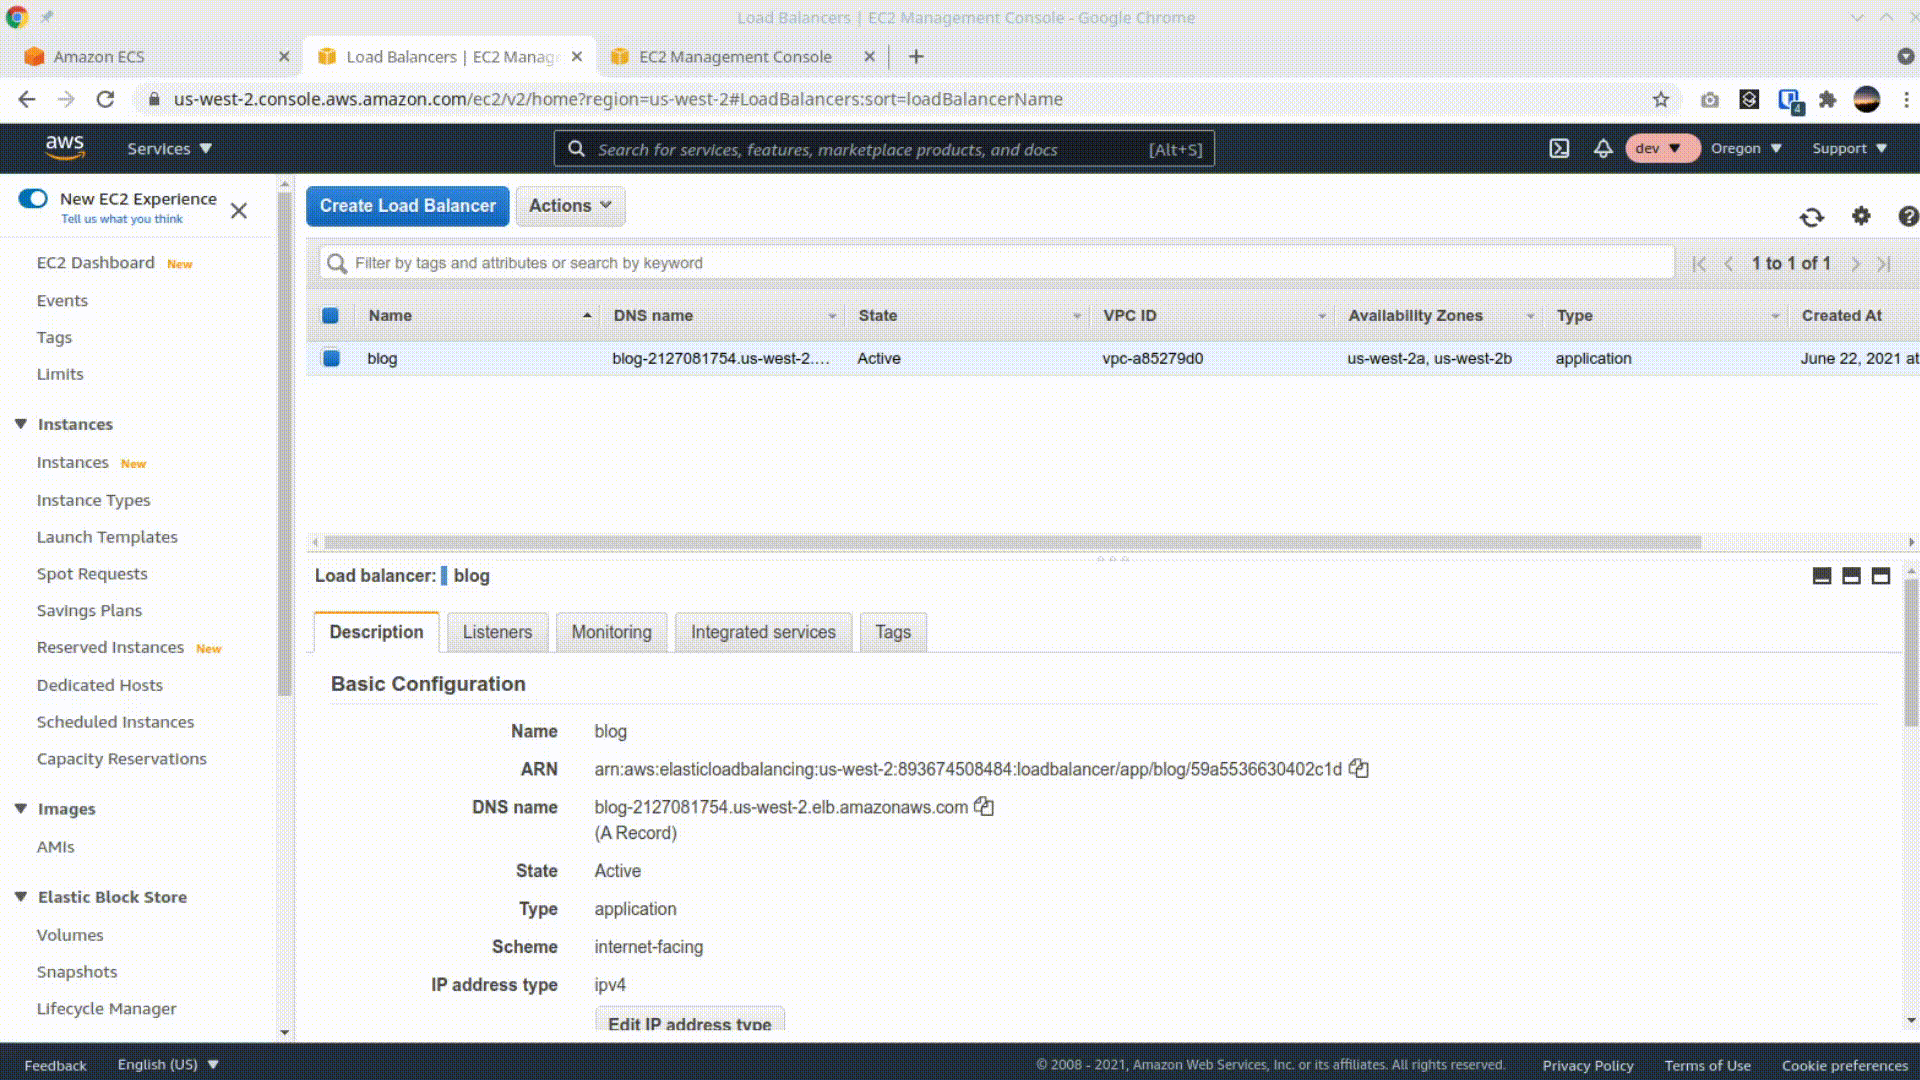
Navigate to the EC2 console, and click "Load balancers" on the left nav. Then click "Create Load Balancer" and select the first tile, "Application Load Balancer". Give the load balancer a name, scroll down and select 2 availability zones, then hit next. Hit next again through step 2, use the existing security group, and on the next page, add a name for the new target group, select IP as the target type, and change the health-check to point to the /ping route. Skip through Page 5 (Register Targets), we'll add targets after creating our service in ECS. Finish by clicking "Create" on the last page.
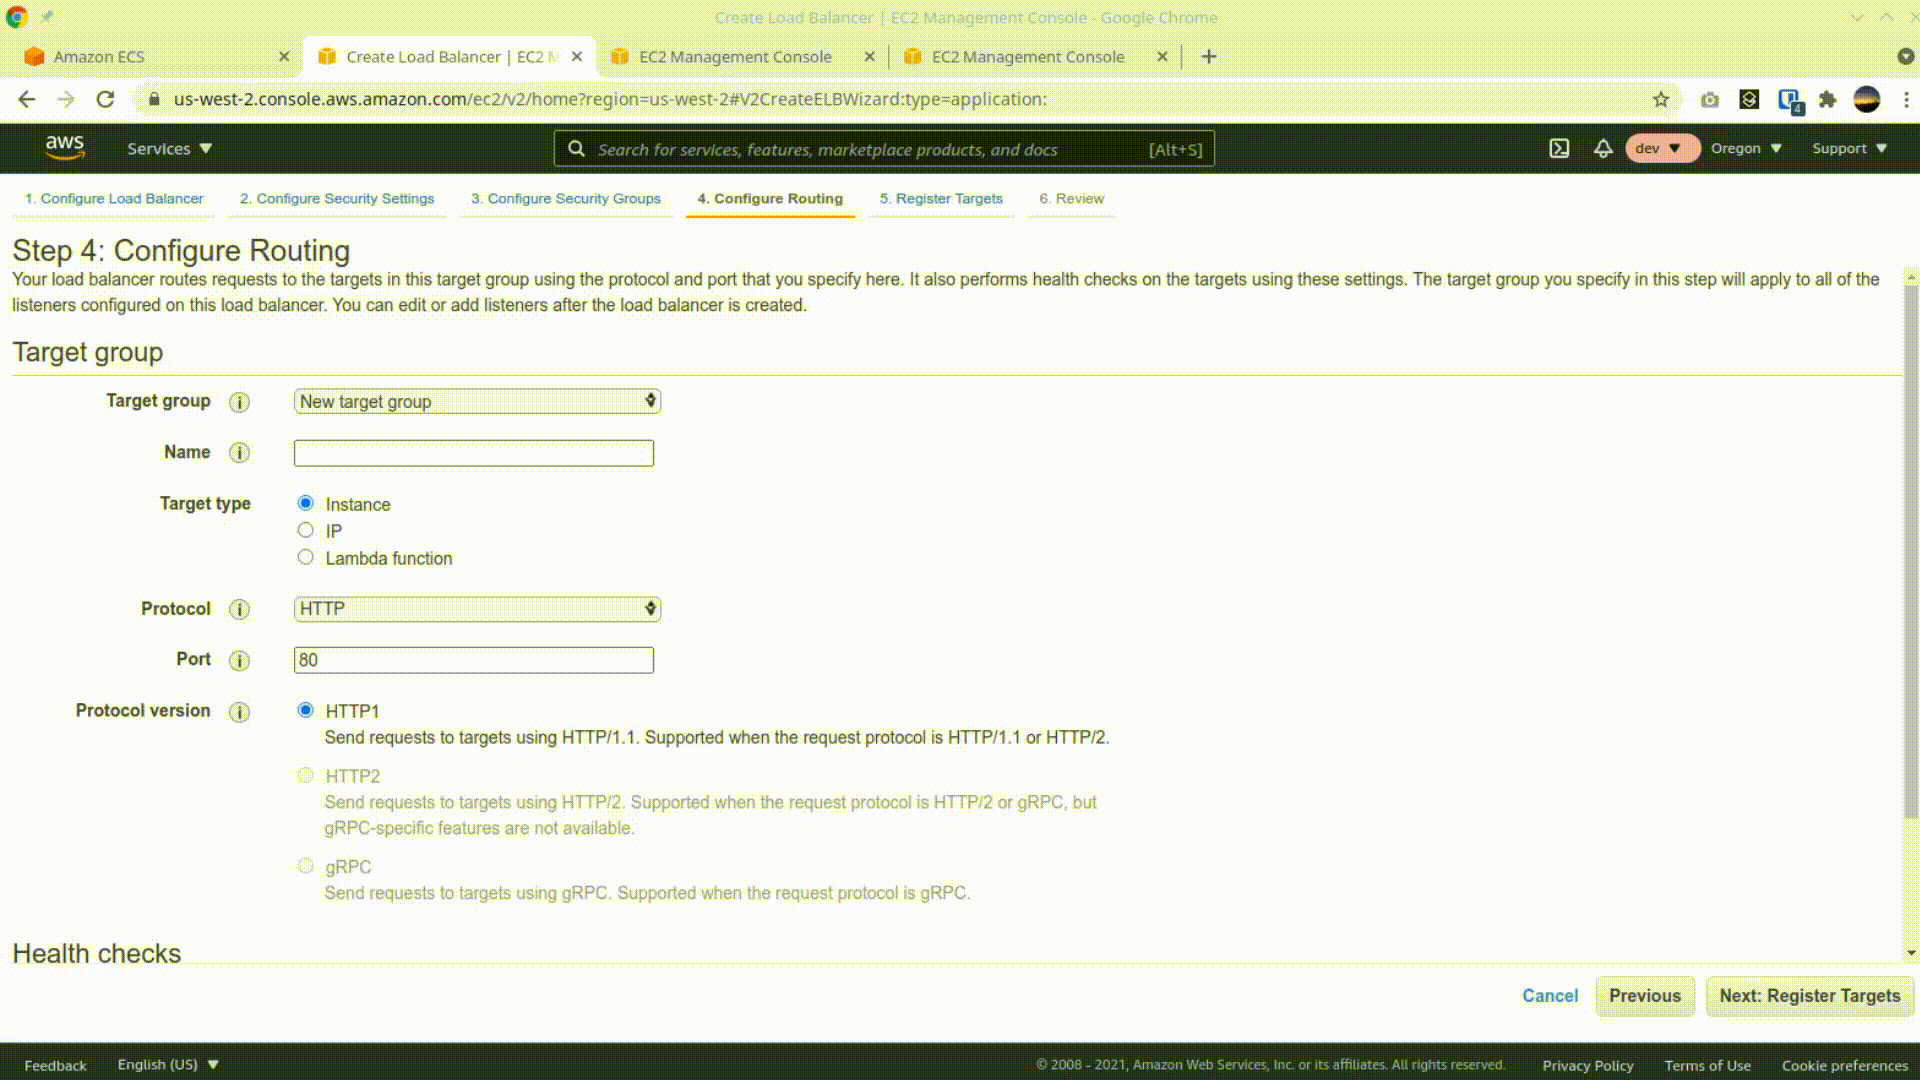
Finally, once the Load balancer has been created, we need to add a networking rule that allows inbound connection on port 80. Scroll down, click on the security group, then click on the "Inbound rules" tab, and click "Edit inbound rules". Then add a rule for TCP port 80 on your IP address.
ECS
Elastic Container Service is great. It makes it super easy to launch a containerized (Docker) service, and you don't have to worry about hardware beyond basic configurations. For this example, we'll use the smallest available hardware from ECS.
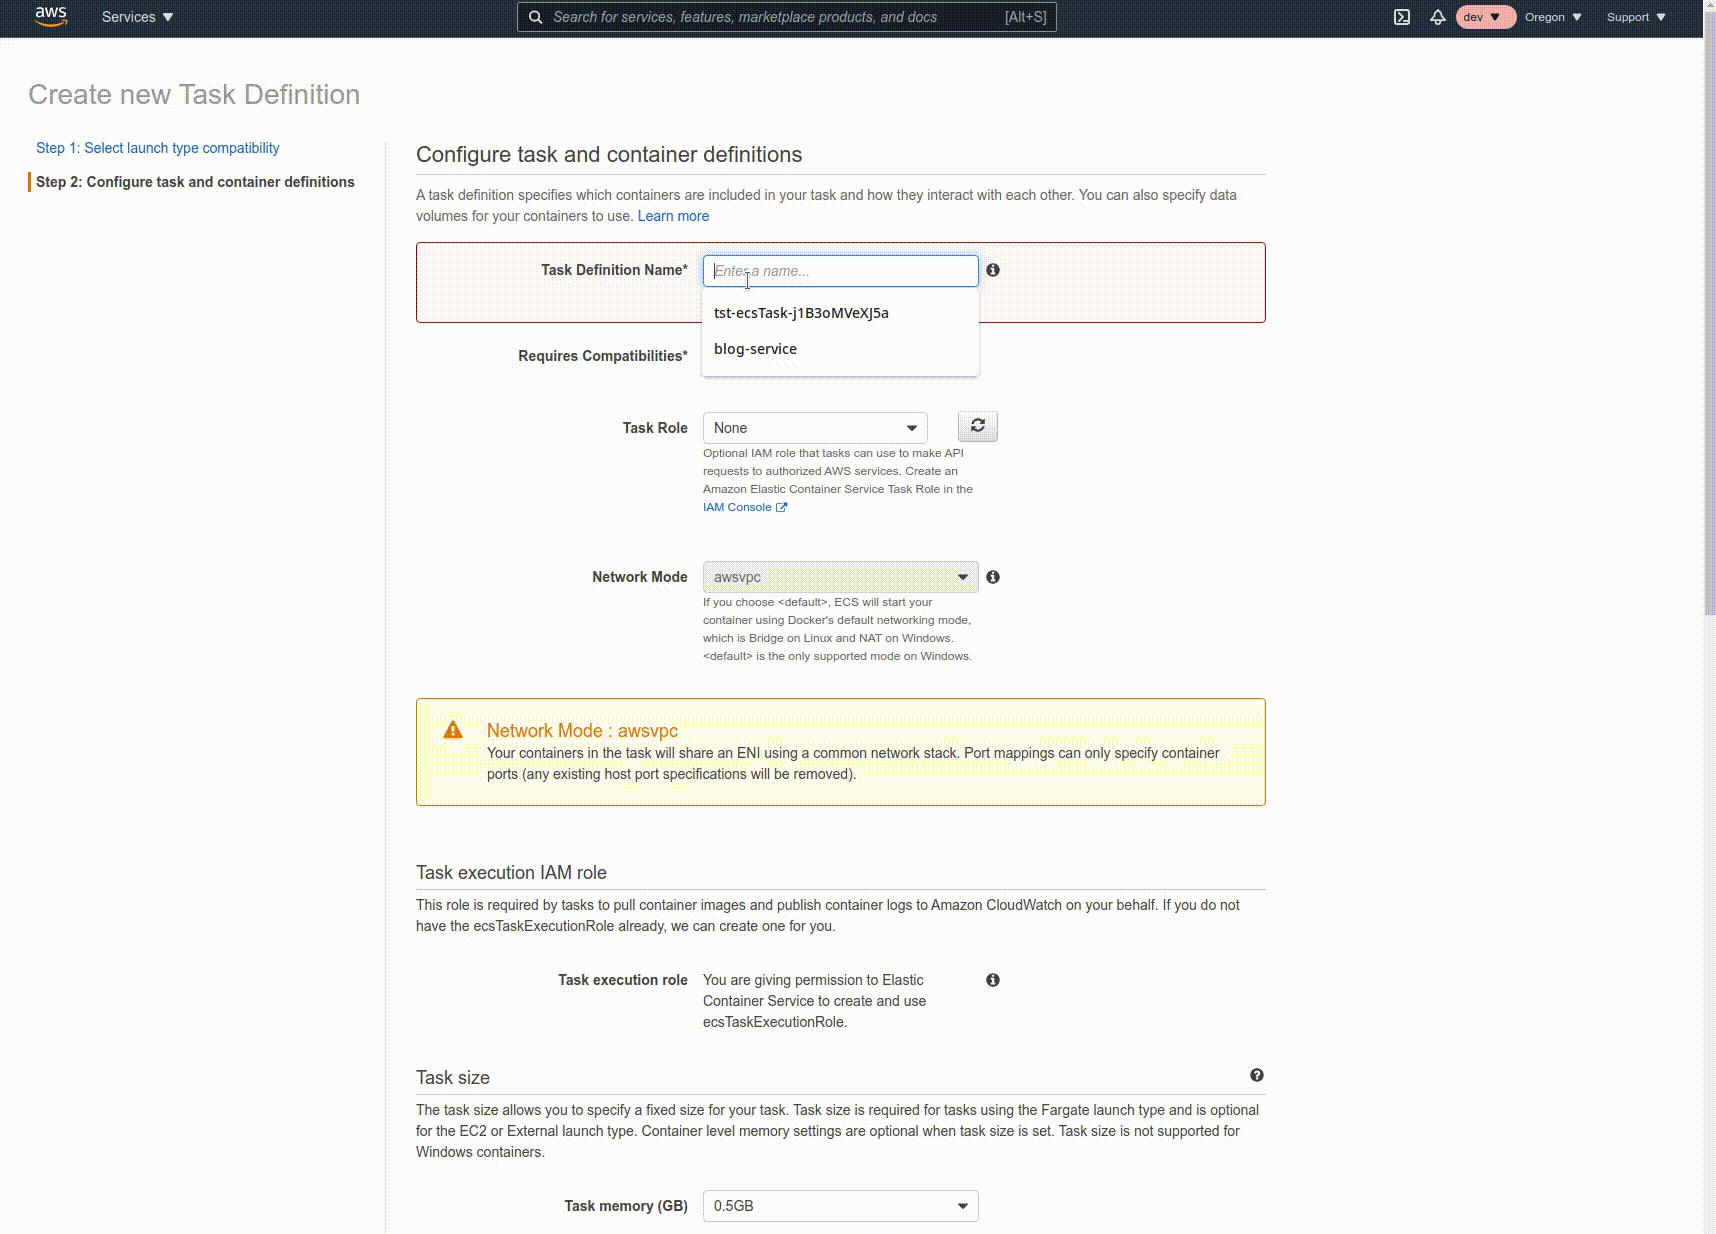
To set up ECS, navigate to the ECS console. Click on "Task Definitions" on the left nav, then "Create new Task Definition". Select Fargate and go to the next step. Enter a name, and use None as the Task Role - a role will be created for you with the permissions you need. Select 0.5GB of memory and 0.25vCPU. Then add a container - create a container name and in the image field, paste in the ECR URI from the repo you created. Add a port mapping for port 80, create the image, and create the task definition.
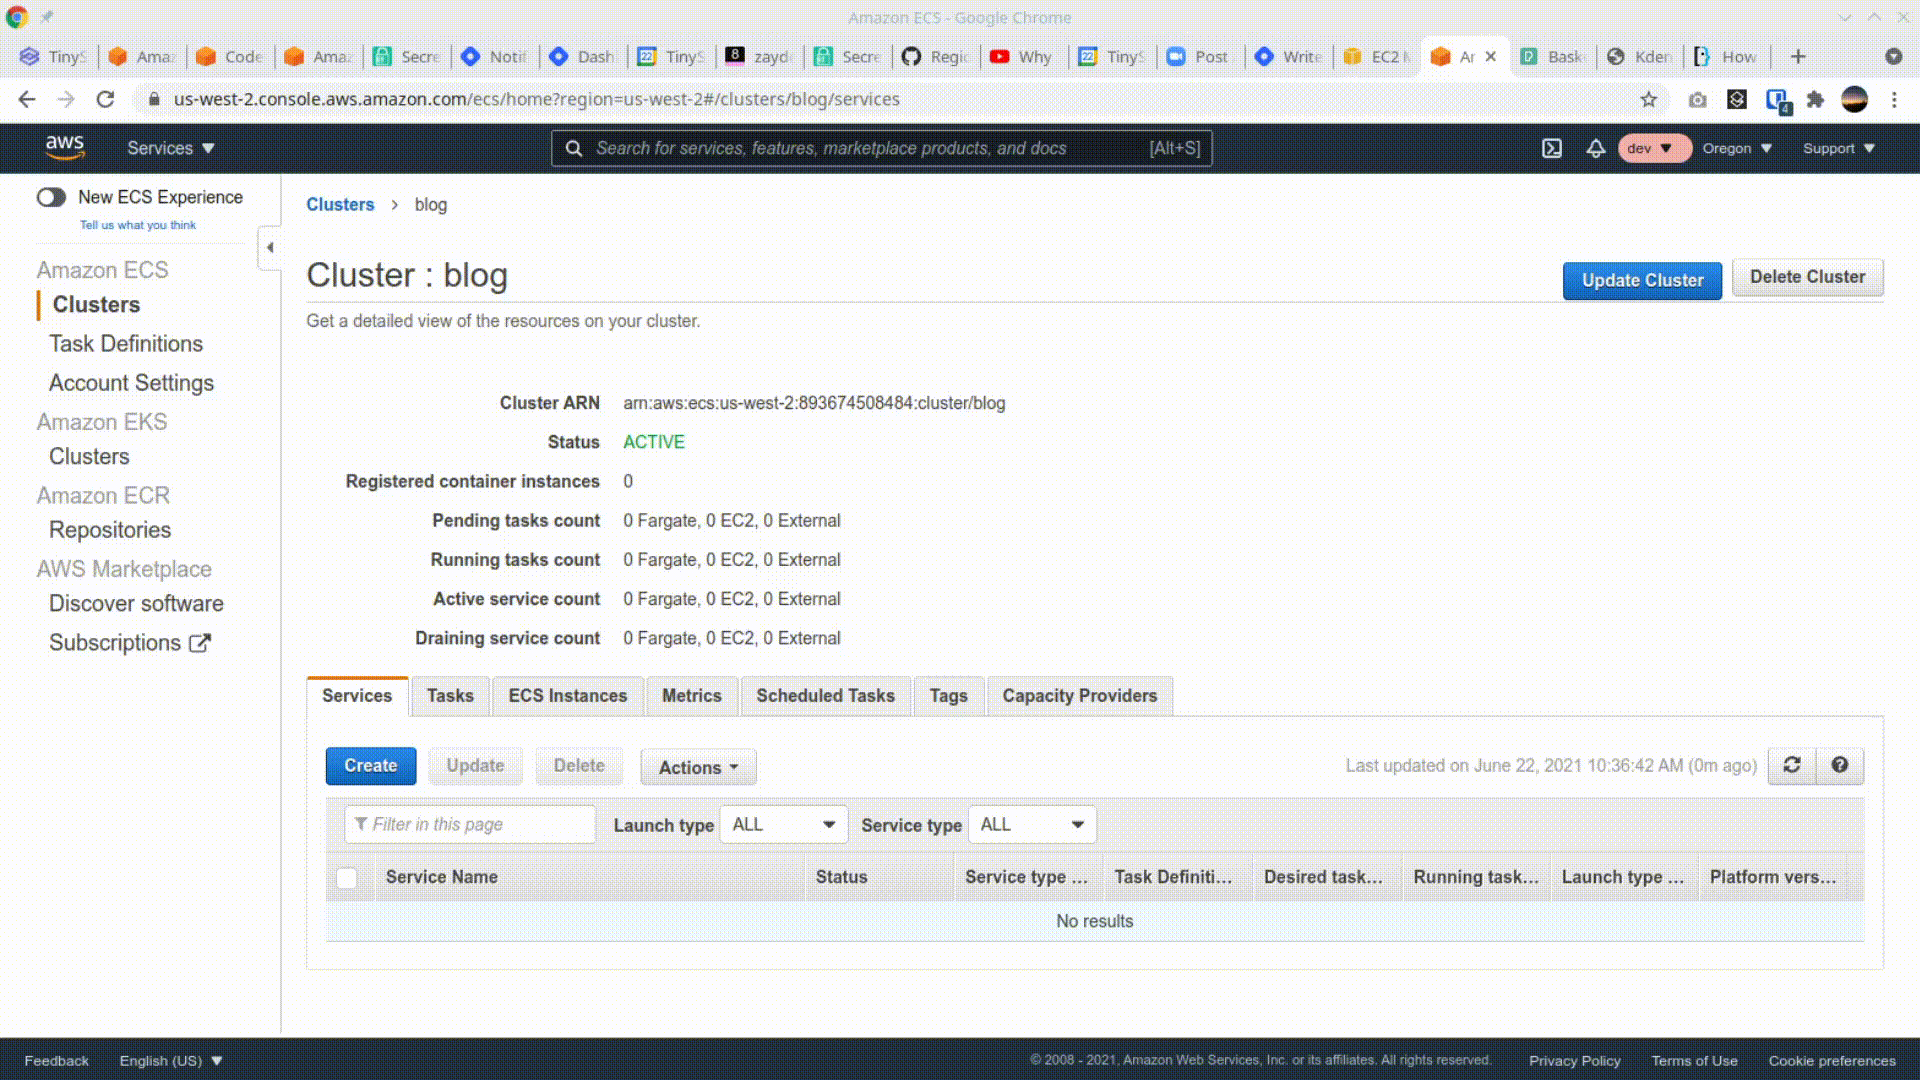
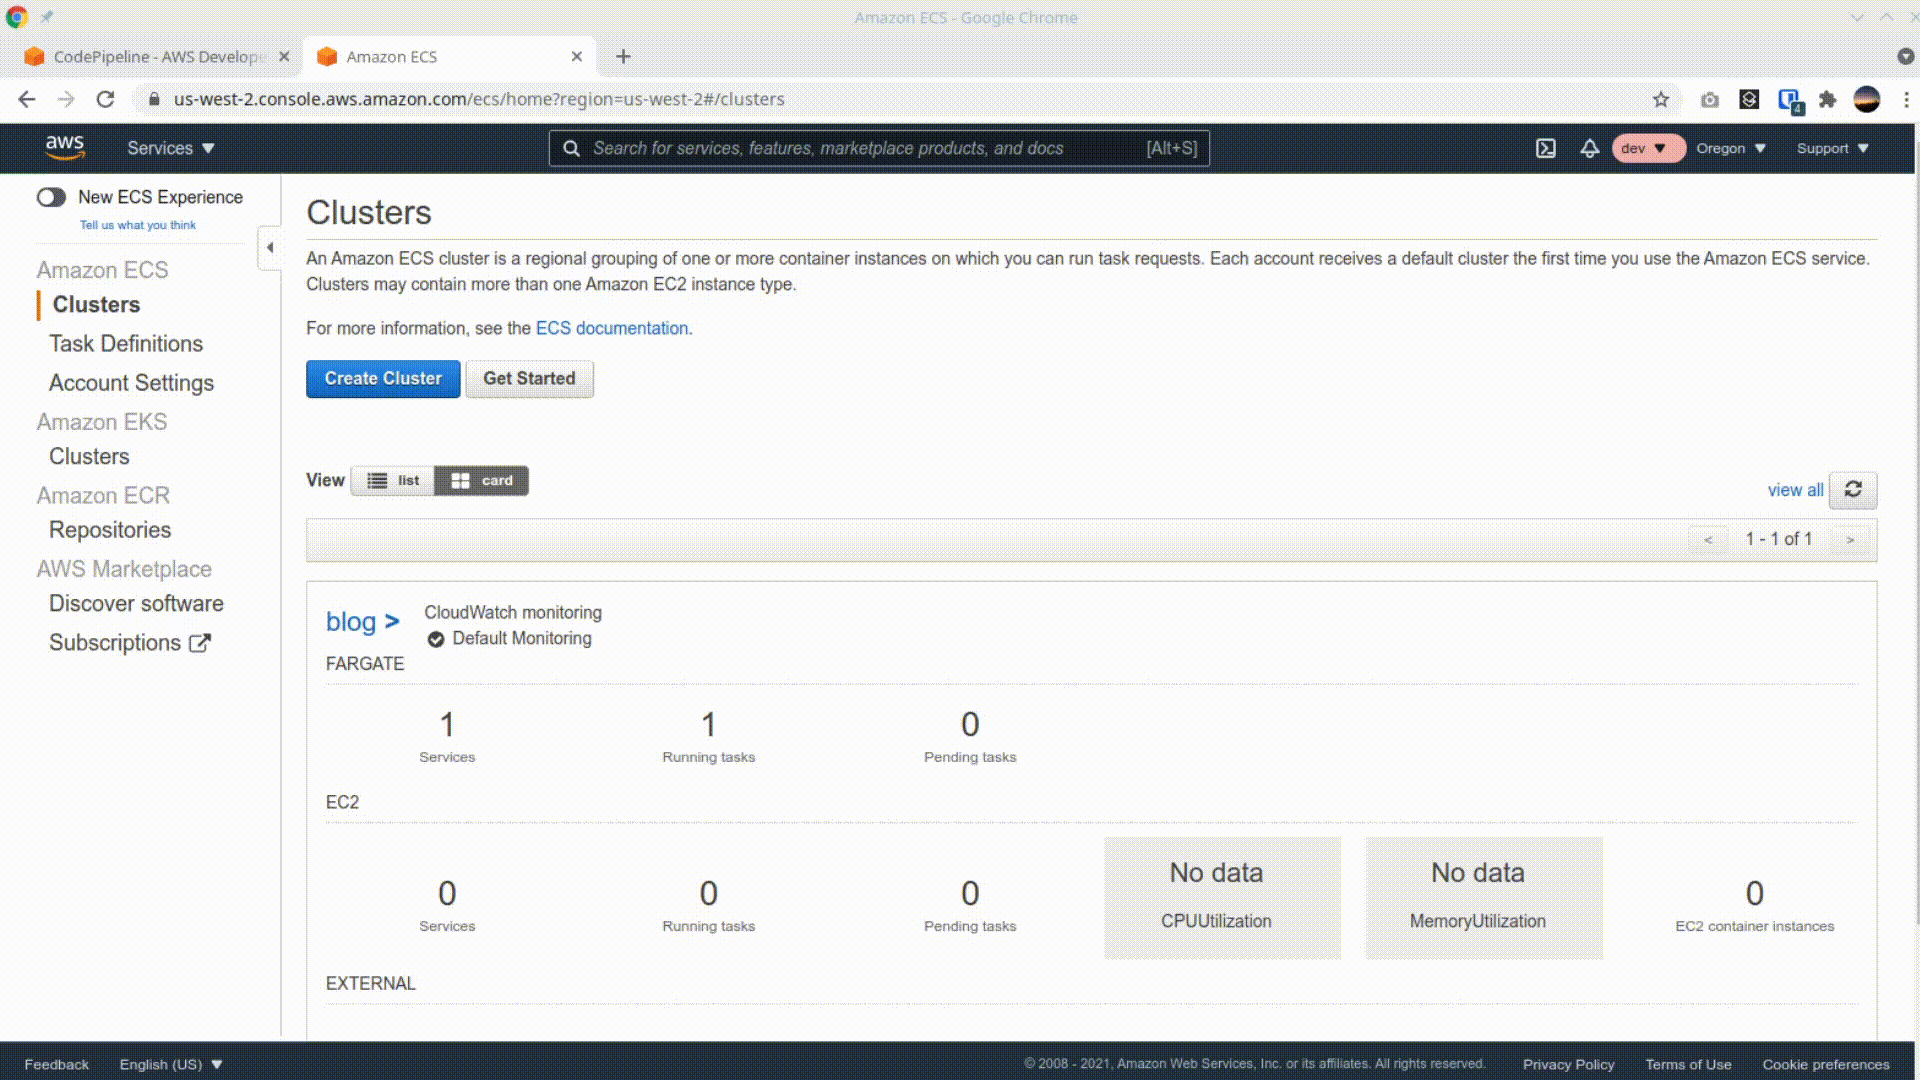
Click on "Clusters" on the left nav, then "Create Cluster". Select "Networking only" and proceed. Give the cluster a name, and click "Create".

Finally, let's create the service and connect it to the load balancer. Click Create, select Fargate, make sure the selected task definition is the one you created. Then enter a service name and 1 for the Number of tasks.
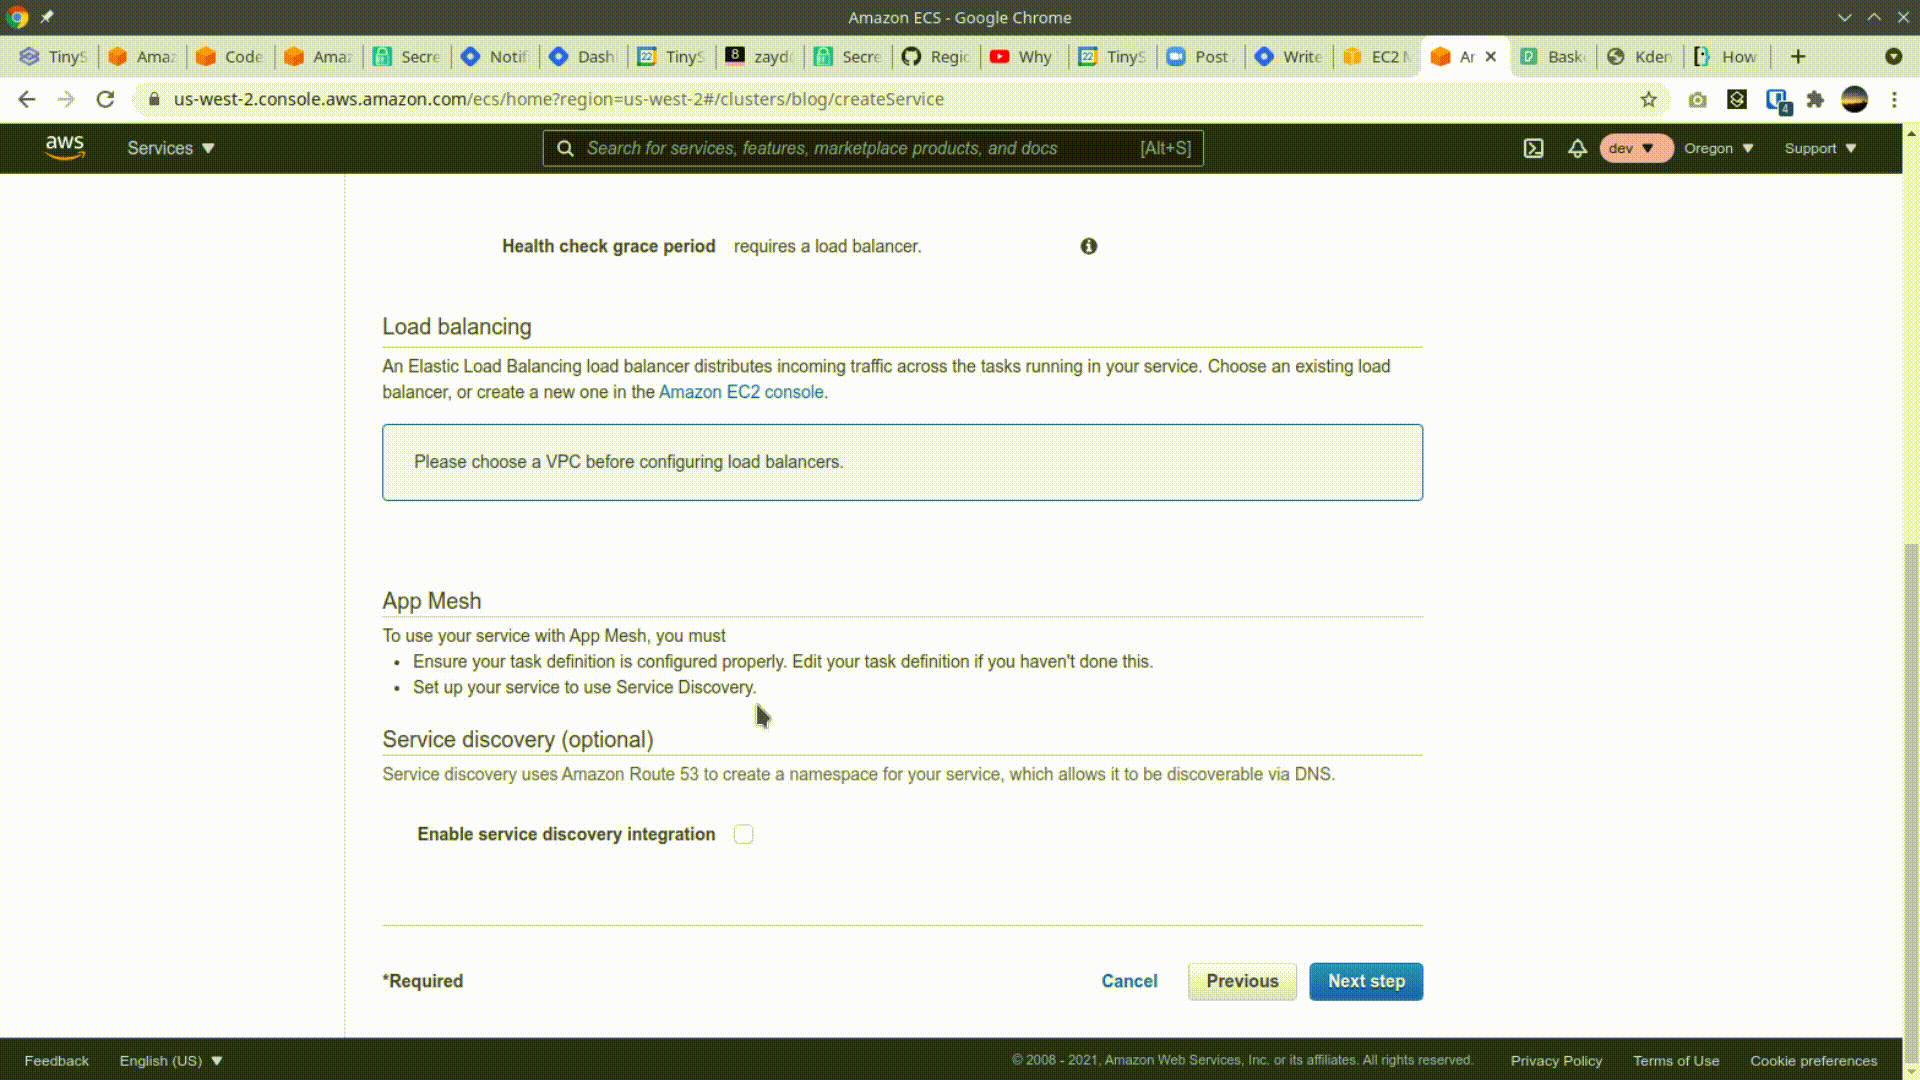
On the next page, choose a VPC and 2 subnets. Then we connect the service to our load balancer. Select Application Load Balancer, and select the load balancer we created. Then, click the "Add to load balancer" button and select the existing "80:HTTP" choice from the Production listener port dropdown. Change the path pattern and evaluation order to / and 1, and change the health check path to /ping. Continue through the wizard with defaults.
Now that we have our hardware setup, the last thing to do is to deploy our code to it. We're not going to do this manually, though - we're going to automate it through code pipeline!
CI/CD through CodePipeline
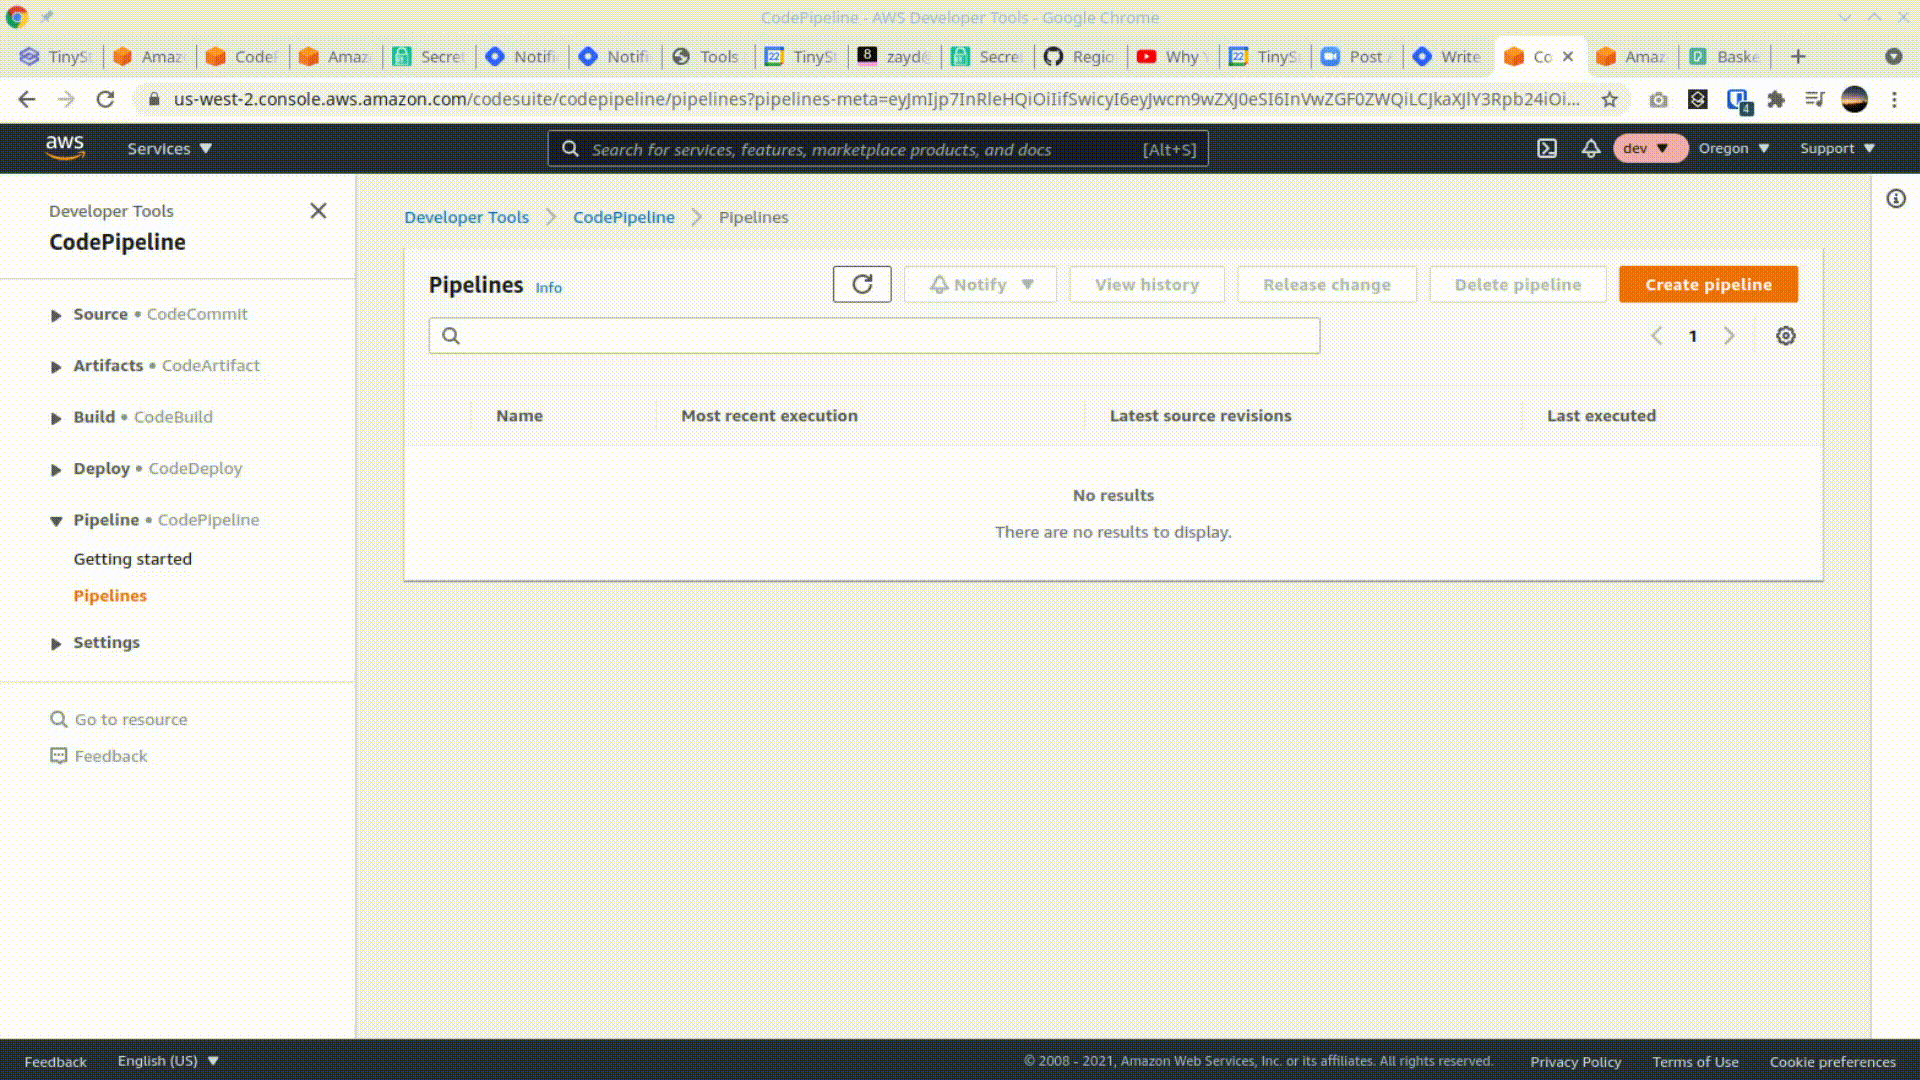
Navigate to the CodePipeline console. Click Create Pipeline, and enter the pipeline name. Choose to create a New service role and proceed to the next step.
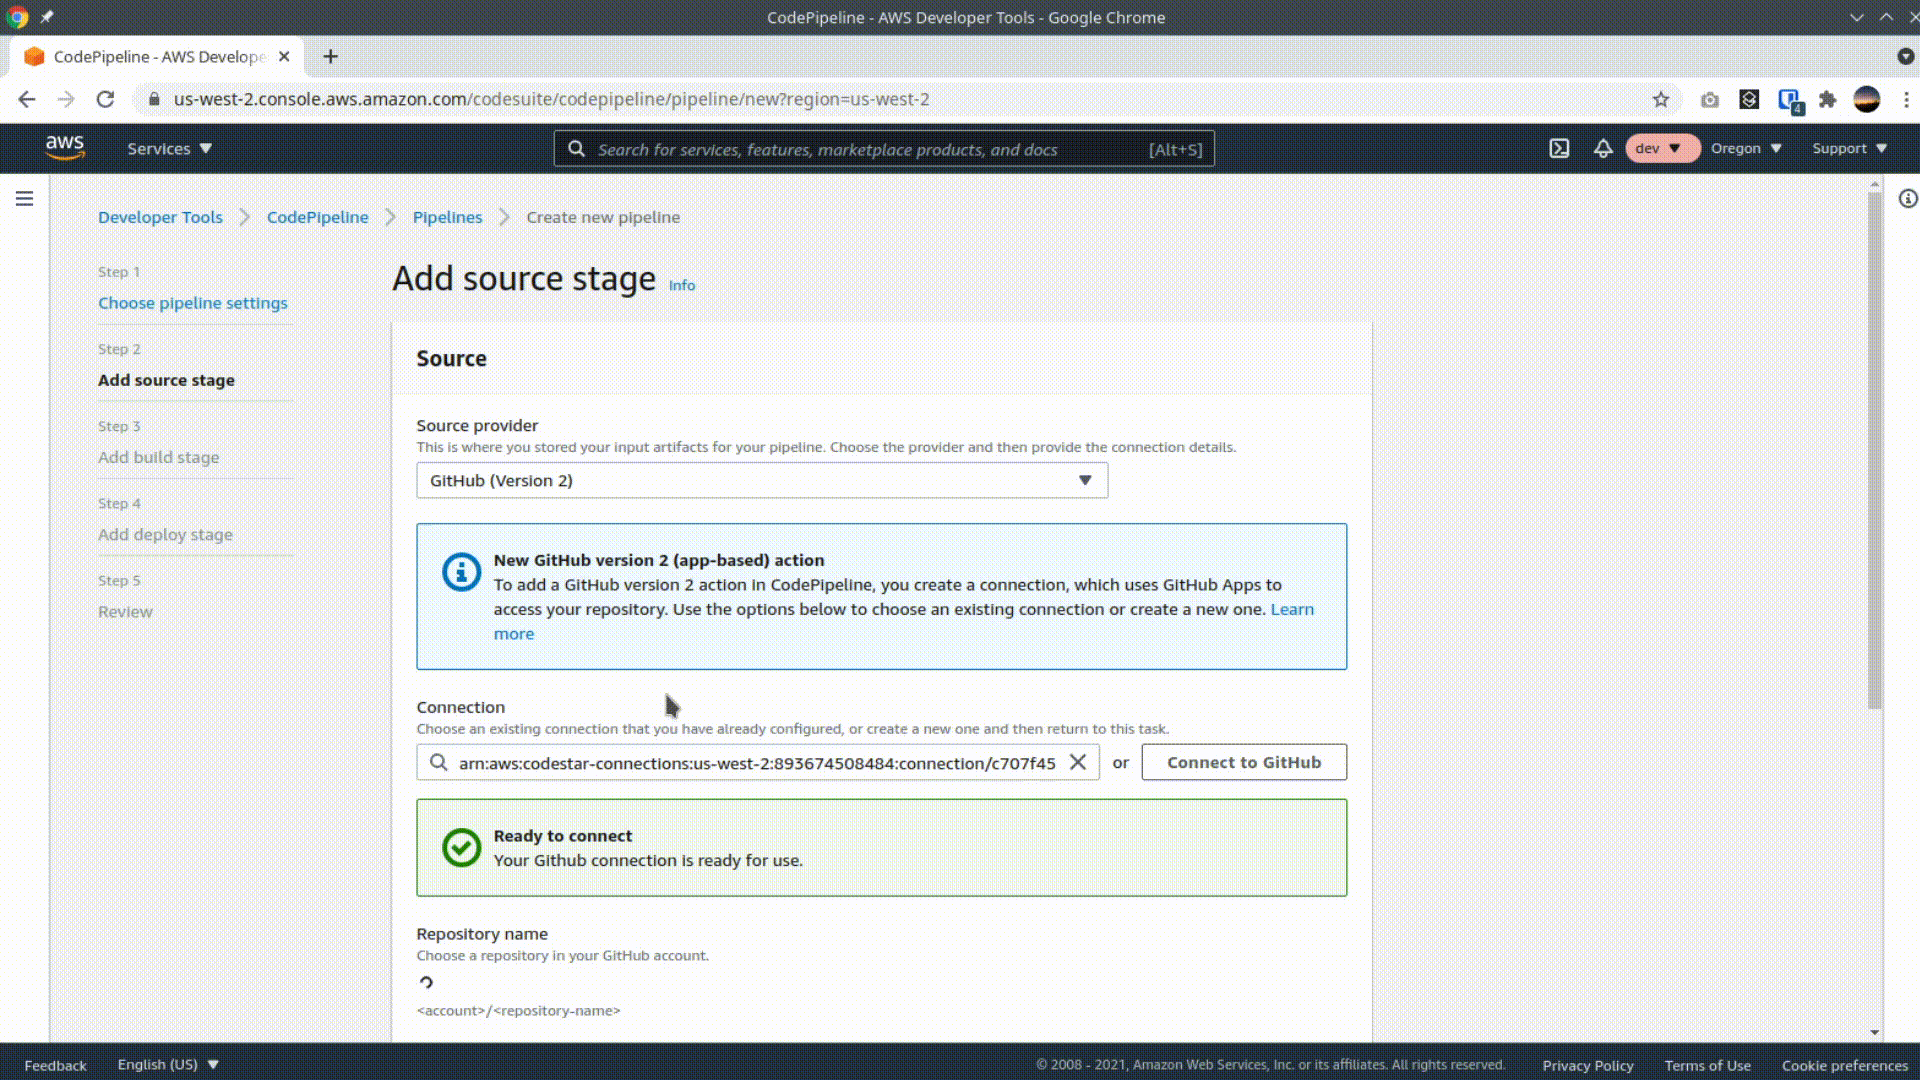
Select Github (Version 2) as the source provider and give AWS access to your github account. Select your repo and branch and click next.
Now we're at the tricky part. We need to add a step that will build our code. We select AWS CodeBuild, then click on Create Project. Set a name, use Amazon Linux 2 as the operating sustem with the 3:0 image version. Select "new service role". Add environment variables as follows, replacing out the values in all caps.
ECR_ENDPOINT:         YOUR_ACCOUNT_ID.dkr.ecr.REGION.amazonaws.com
ECR_IMAGE_URL:        YOUR_ACCOUNT_ID.dkr.ecr.REGION.amazonaws.com/YOUR_REPO_NAME
In the buildspec definition, enter "build.yml". Complete the pipeline and watch it run (and fail). The problem is that the Code Build role doesn't have permission to operate on ECR like we want it to. The way to fix that is to click on the code build target, navigate to the IAM role, and add an inline policy that follows the format below:
{
    "Version": "2012-10-17",
    "Statement": [
        {
            "Sid": "VisualEditor0",
            "Effect": "Allow",
            "Action": "ecr:GetAuthorizationToken",
            "Resource": "*"
        },
        {
            "Sid": "VisualEditor1",
            "Effect": "Allow",
            "Action": [
                "ecr:InitiateLayerUpload",
                "ecr:UploadLayerPart",
                "ecr:CompleteLayerUpload",
                "ecr:BatchCheckLayerAvailability",
                "ecr:PutImage"
            ],
            "Resource": "arn:aws:ecr:REGION:YOUR_ACCOUNT_ID:repository/YOUR_ECR_REPO_NAME"
        }
    ]
}

Release a change through the pipeline again, then wait. ECS will complete deploying in about 10 minutes, at which point you can go back to your load balancer, and visit the endpoint suffixed with "/ping". It should return an empty screen. Visit the endpoint suffixed with "/item", and it should return "[]".
Push a change to the repo and watch it deploy!
We're finally here! You're done touching all that stuff for a while! The last thing to do is pull down the repo, add a change, and push it in. Once you've done that, navigate to the ECS console, click on the cluster, check off the service, and click Update. Check the box that says "Force new deployment", and deploy. Wait another 10 minutes, and you'll be able to test your changes on the endpoint!
Conclusion
If you've made it this far, congratulations!! If you didn't, I'd like to hear about where you got stuck, I can add some clarifications to the post and help out as well. While this took some up-front effort, it should save you time in the long run by automatically building your code. With a few minor tweaks to the pipeline, we can have it force the ECS deployment as well. The code is already there in release.yml - we just have to add another codebuild stage pointing to that file, pass the following env vars:
ECR_ENDPOINT:         YOUR_ACCOUNT_ID.dkr.ecr.REGION.amazonaws.com
ECR_IMAGE_URL:        YOUR_ACCOUNT_ID.dkr.ecr.REGION.amazonaws.com/YOUR_REPO_NAME
PREVIOUS_STAGE_NAME:  latest
STAGE_NAME:           latest
SERVICE_NAME:         YOUR_ECS_SERVICE_NAME
CLUSTER_ARN:          arn:aws:ecs:REGION:ACCOUNT_NUMBER:cluster/CLUSTER_NAME
Finally, you'll have to add an inline policy that looks like this:
{
    "Version": "2012-10-17",
    "Statement": [
        {
            "Sid": "VisualEditor0",
            "Effect": "Allow",
            "Action": "ecr:GetAuthorizationToken",
            "Resource": "*"
        },
        {
            "Sid": "VisualEditor1",
            "Effect": "Allow",
            "Action": [
                "ecr:InitiateLayerUpload",
                "ecr:UploadLayerPart",
                "ecr:CompleteLayerUpload",
                "ecr:BatchCheckLayerAvailability",
                "ecr:PutImage",
                "ecr:GetDownloadUrlForLayer",
                "ecr:BatchGetImage"
            ],
            "Resource": "arn:aws:ecr:REGION:ACCOUNT_NUMBER:repository/REPO_NAME"
        },
        {
            "Sid": "VisualEditor2",
            "Effect": "Allow",
            "Action": "ecs:UpdateService",
            "Resource": "arn:aws:ecs:REGION:ACCOUNT_NUMBER:service/CLUSTER_NAME/SERVICE_NAME"
        }
    ]
}


