
Local CRUD API Express App with Docker in 5 min

I worked at AWS for a while, then started a company! I've grown teams, seen everything go down, developed products, and maintained services. I enjoy getting paged while taking long walks on the beach.
A Video version of this article is available at https://youtu.be/UxZiDZsQoZI
A CRUD API is the beating heart of all data-driven applications. In this article, I'll use a sample CRUD API provided by TinyStacks and show how to get it up and running on Docker. Then I’ll show you how you build more complex functionality on top of this base.
What’s CRUD?
CRUD stands for
- CREATE
- READ
- UPDATE
- DELETE
These are the basic data storage functions in an application, on top of which we can build more complex logic.
Definition of CRUD Functions
Create
Adds a new item. The user provides the values. Typically, the system assigns a unique ID, that enables finding, updating, or deleting the resource later.
Read
Retrieves one or more resources. To get a single resource, the user provides the unique ID of the resource, or any other relevant field they need .
Update
Changes the values of a specific resource. The user provides all the values that should change and the ID of the resource to update.
Delete
Removes an existing item. The user provides the id of the resource; if that item exists, it is removed.
In this article, we’ll use a pe-built CRUD API application in Express created by TinyStacks that supports basic CRUD functions. You can start with this sample and modify it according to your needs.
Disclaimer: In this article, we don’t use a database. All data is saved in memory. Obviously, this isn’t how you would write a production-ready application.
But don't worry! In our upcoming videos, we’ll incorporate database storage. Today, our goal is to understand how the custom endpoints of our application work.
Step By Step Guide
Clone the repo
At a command prompt, type:
git clone https://github.com/tinystacks/aws-docker-templates-express.git
Then enter into the folder:
cd aws-docker-templates-express
To run the application without Docker, please refer to the Readme.md file To run this example, you should have Node.js already installed on your system
npm install
npm run build
node built/server.js
Now, let's review the Dockerfile for this application:
FROM public.ecr.aws/bitnami/node:15

# Create app directory
WORKDIR /usr/src/app

# Install app dependencies
# A wildcard is used to ensure both package.json AND package-lock.json are copied
# where available (npm@5+)
COPY package*.json ./
COPY tsconfig.json ./
COPY src ./src
RUN npm install
RUN npm run build

# Bundle app source
COPY . .

EXPOSE 80
CMD [ "node", "built/server.js" ]
Let's examine this line by line.
The FROM line is to specify a Docker image as our base. In this case, we are using a node image from the public AWS container registry.
The WORKDIR, as its name suggests, is the working directory for our project/ The COPY and other commands take this as the path for the image filesystem.
Then we have 3 COPY commands:
COPY package*.json ./is to copy both package.json AND package-lock.json (if that file exists).COPY tsconfig.json ./to copy the TypeScript configuration file in the image file systemCOPY src ./srcto copy the source folder
Next, we build the npm project inside the image. Please note that this has nothing to do with the build process of the Docker Image; it's just the specific build for this npm project. Let's check the two commands:
RUN npm installinstalls all of the application’s dependenciesRUN npm run buildbuilds the project inside the image
Then we just copy the rest, which concludes our build.
EXPOSE is not really needed, but it's good for documenting which port we will use.
Last but not least, we use the CMD command to run the application:
CMD [ "node", "built/server.js" ]
...
Build the Docker image
as explained in the Readme file, let's build the image, starting from this Dockerfile
docker build -t tinystacks/express-crud-app:latest .
of course, feel free to change the tag if you want a different name for your image.
Then let's run the container:
docker run -p 8080:80 -d tinystacks/express-crud-app:latest
Test the Container
To check if the container is up and running, let’s make an HTTP request. We could make such a request from the command prompt using cUrl, but in this case, let’s use Postman, an extremely useful tool for API development and testing.
First, let’s check that the application is running.
Ping
Let's make a GET request at http://localhost:8080/ping, using Postman:

If we get an HTTP response with a 200 code, it means that our application is up and running.
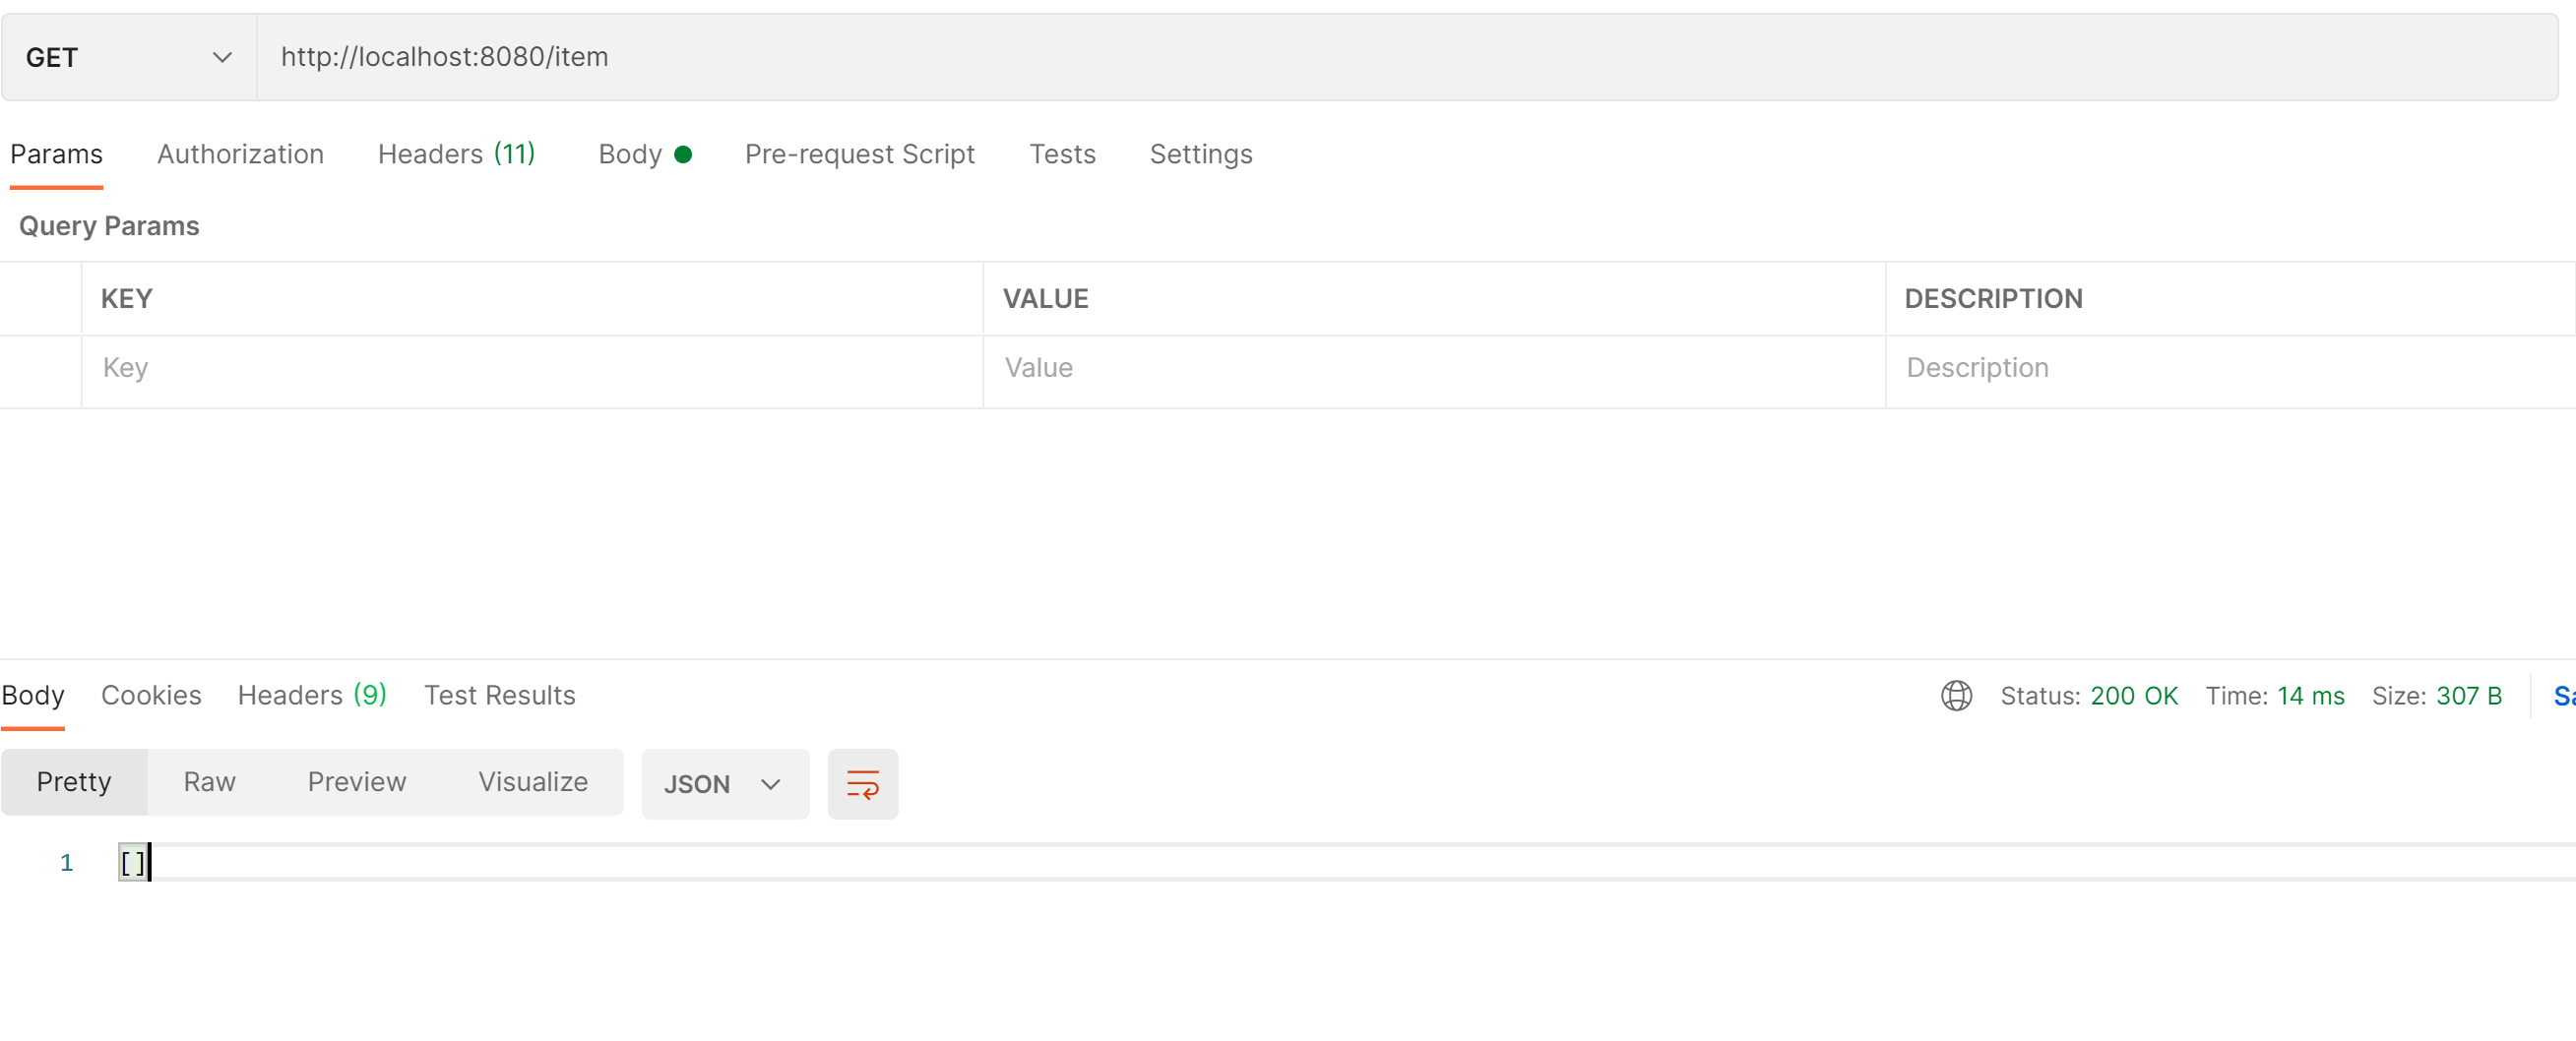
Since it's working, let's test our CRUD API with Postman. First of all, let's verify that our in-memory "database" is empty:
READ ALL /item => empty array
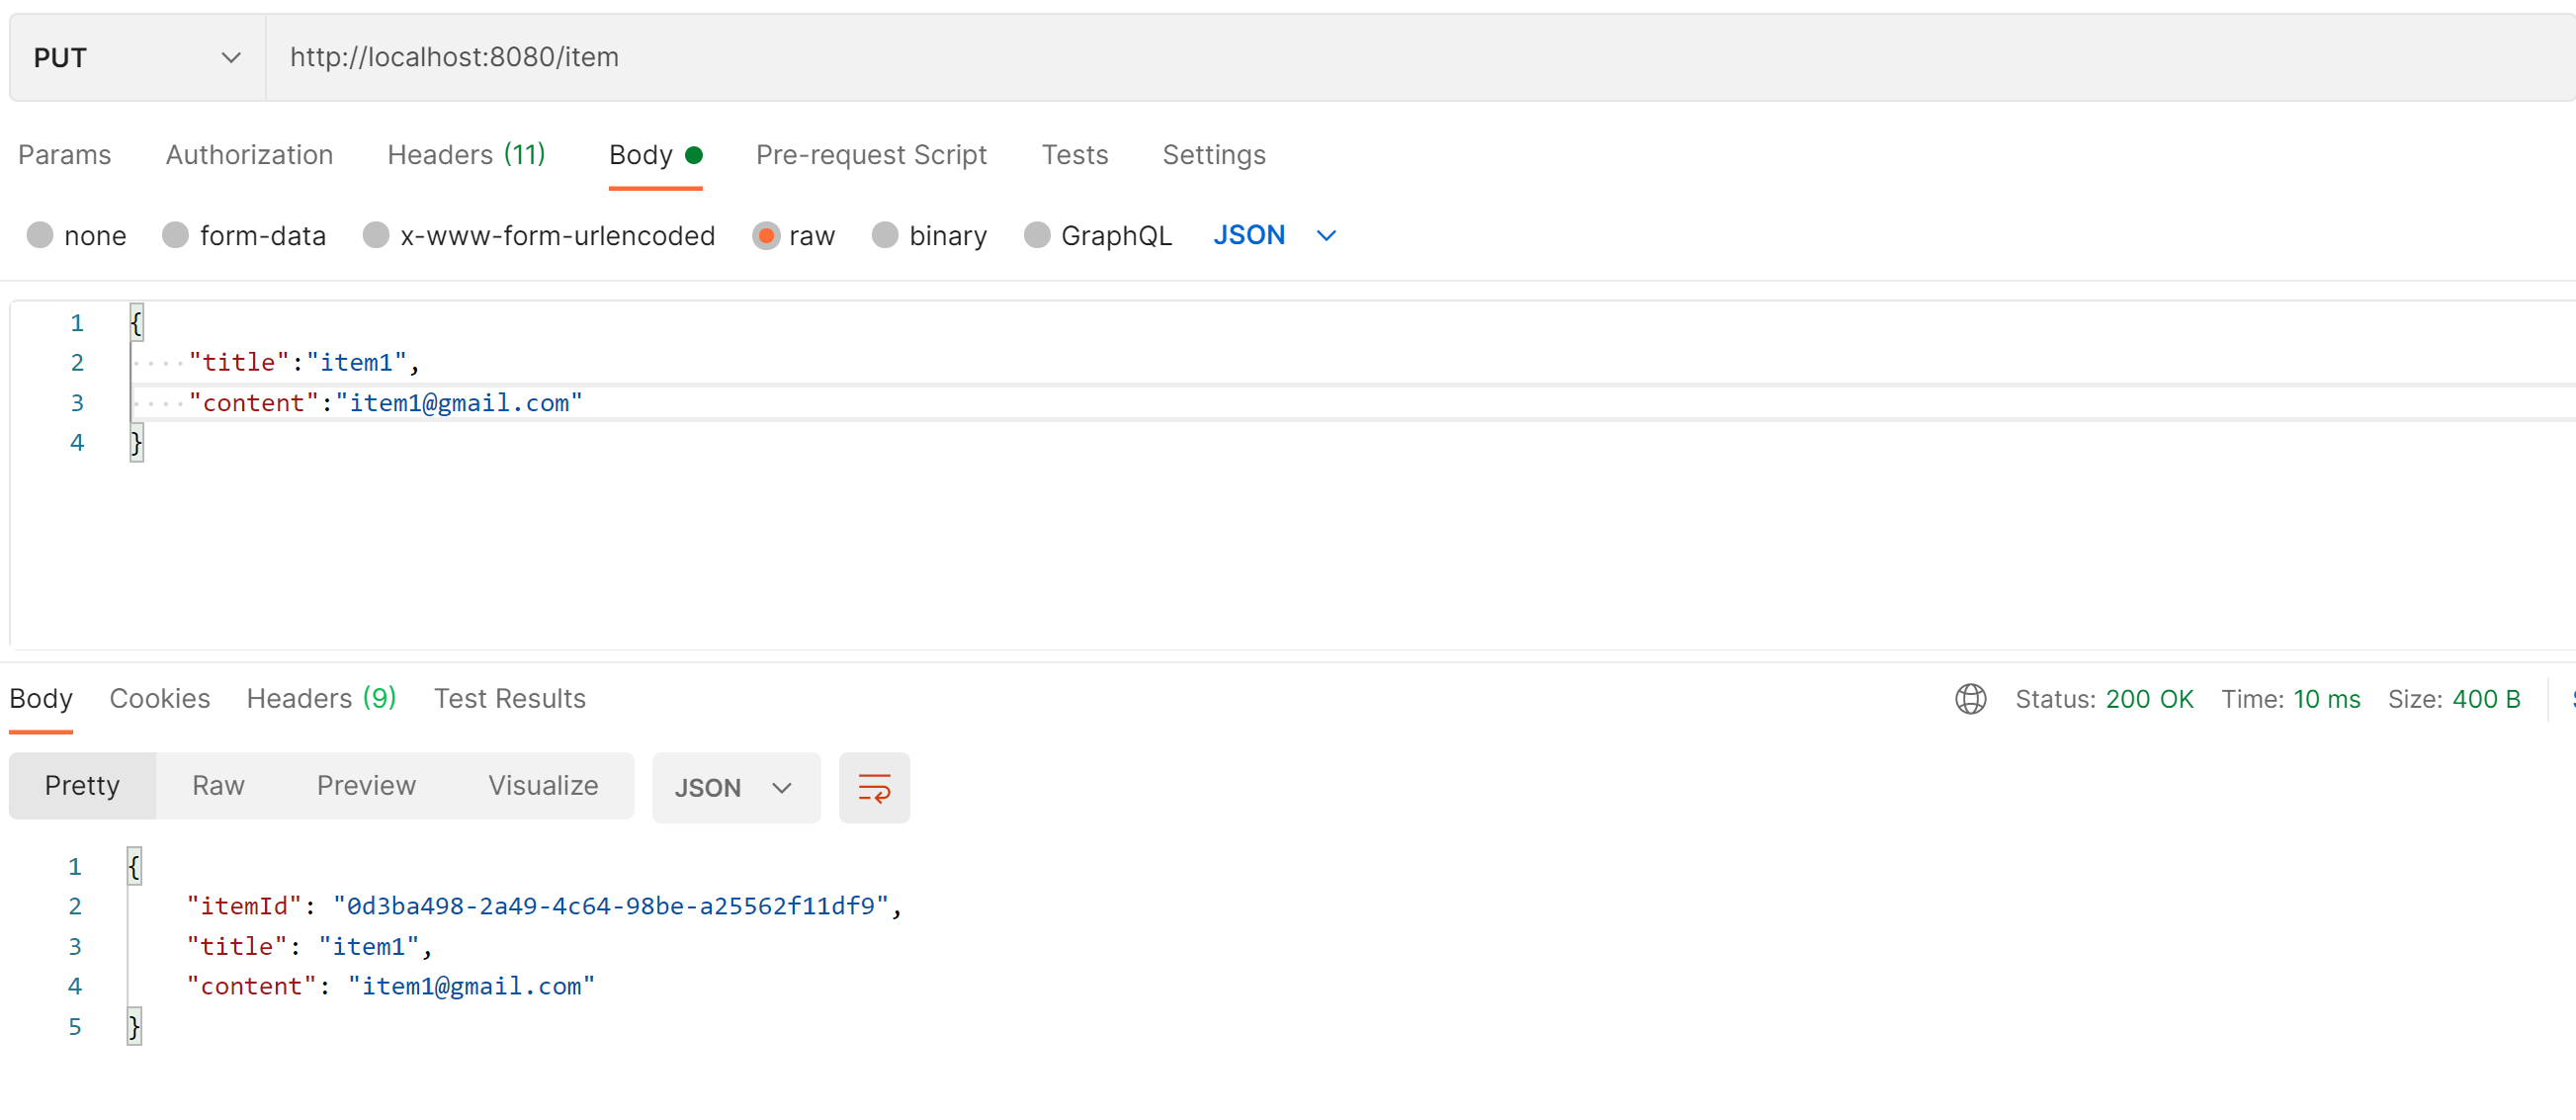
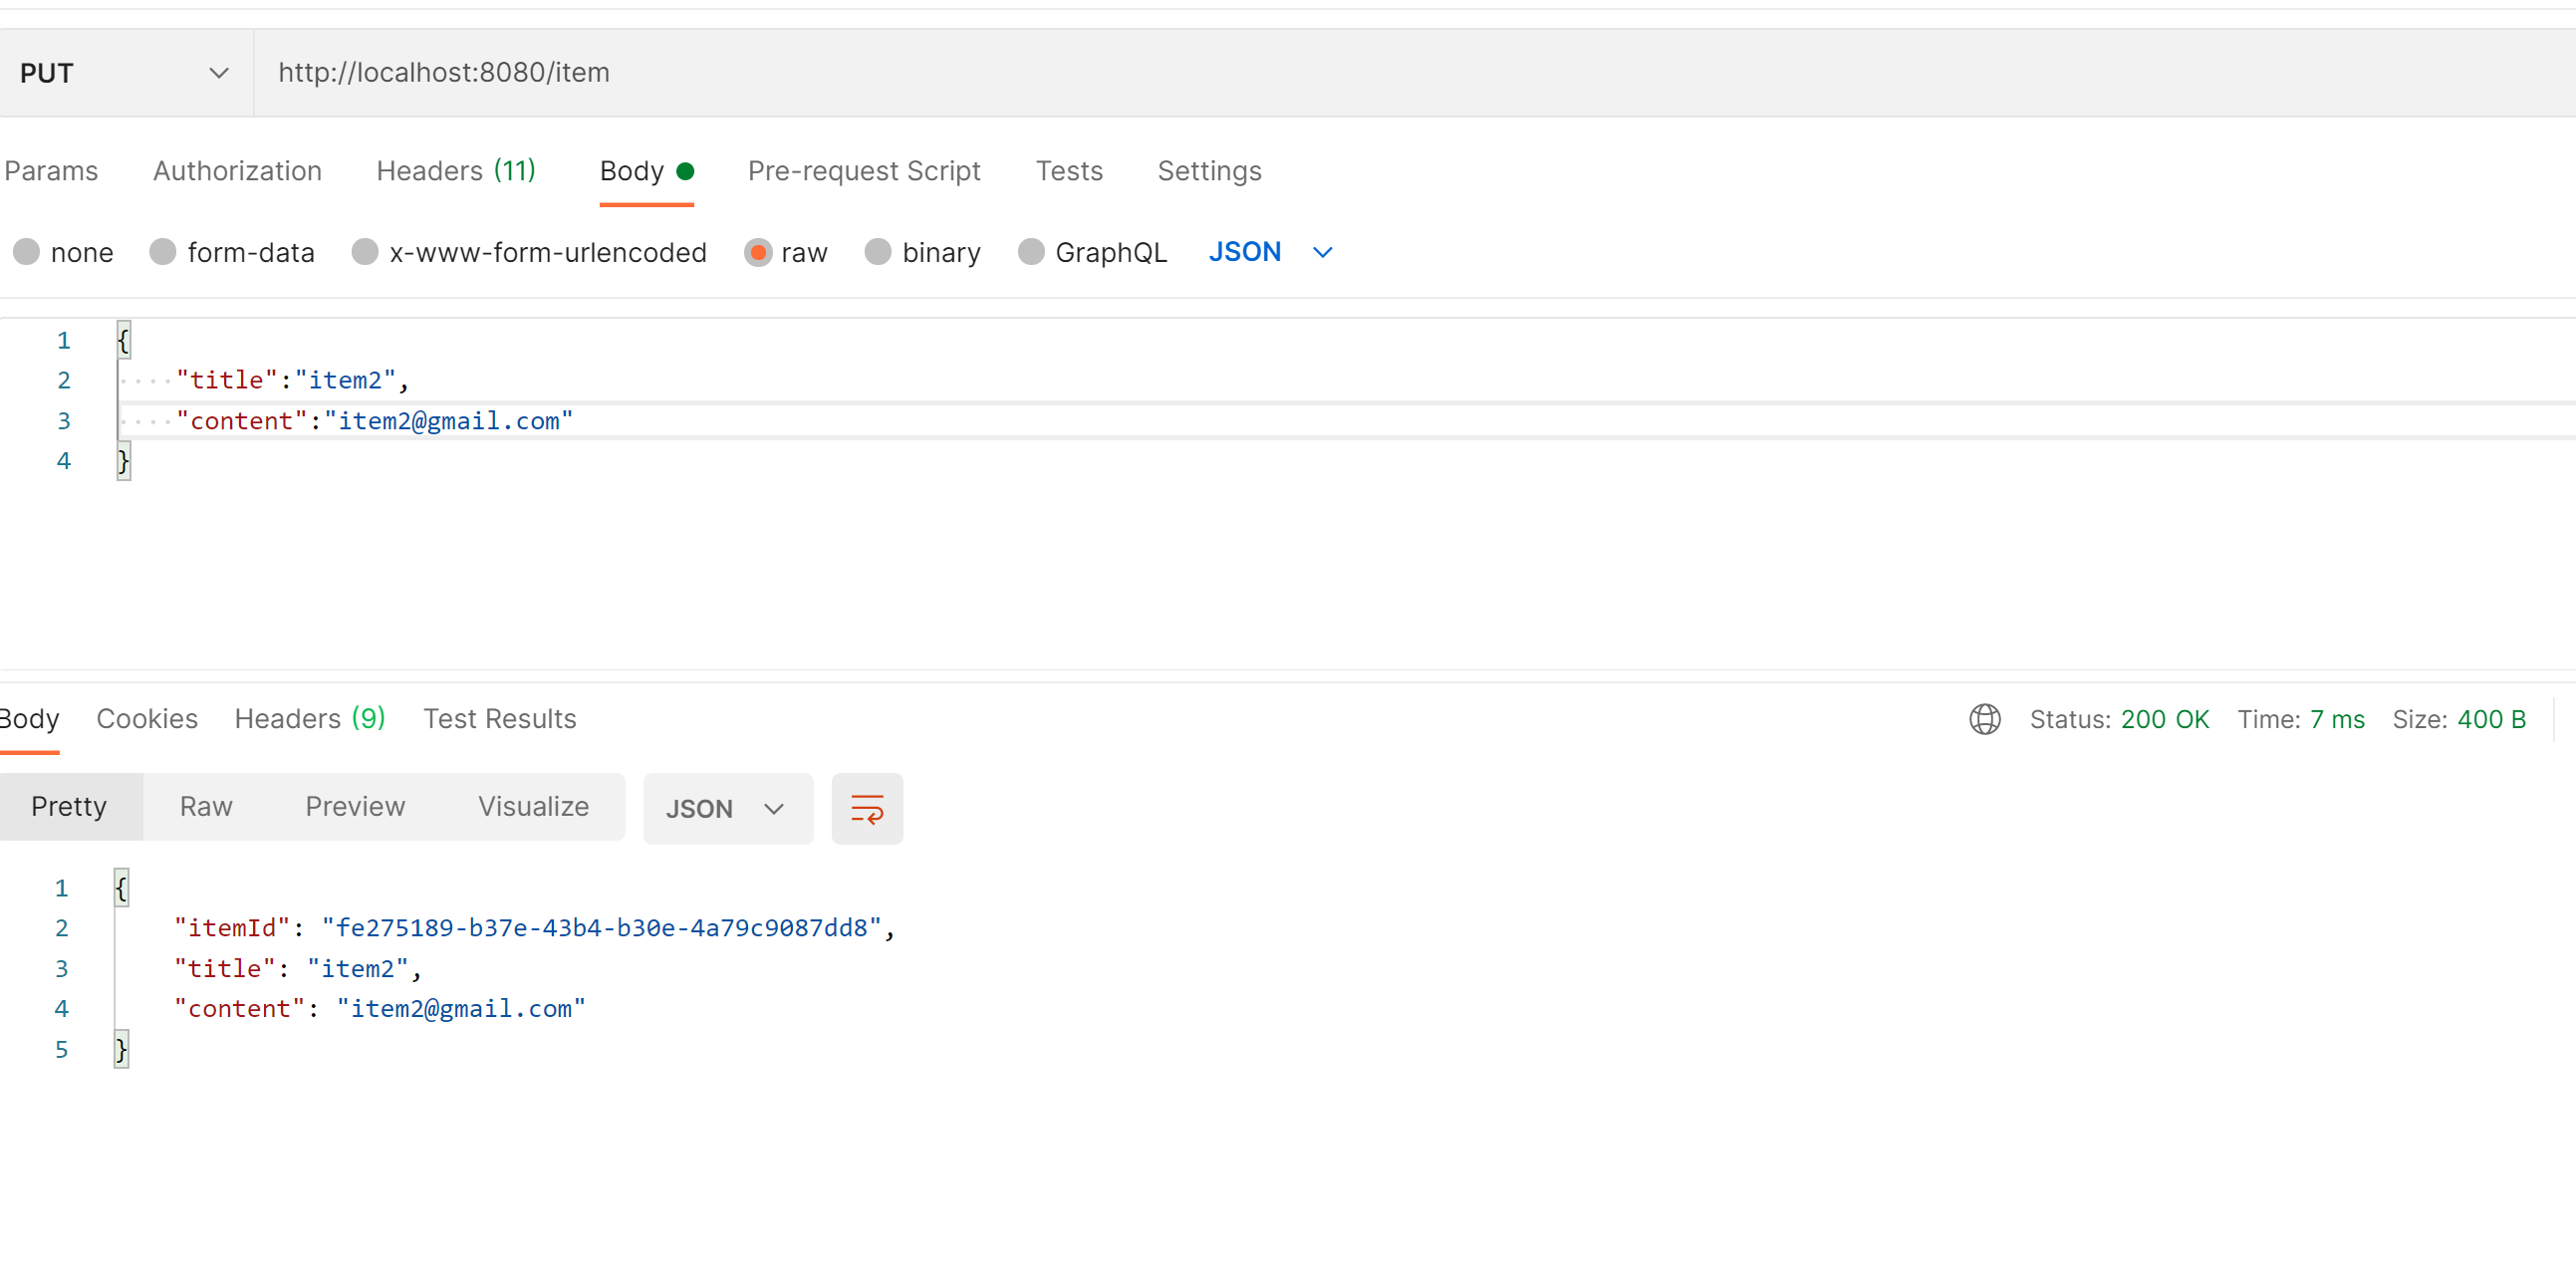
CREATE: PUT : to create a record
To create a new resource:
READ ALL (again)

READ ONE
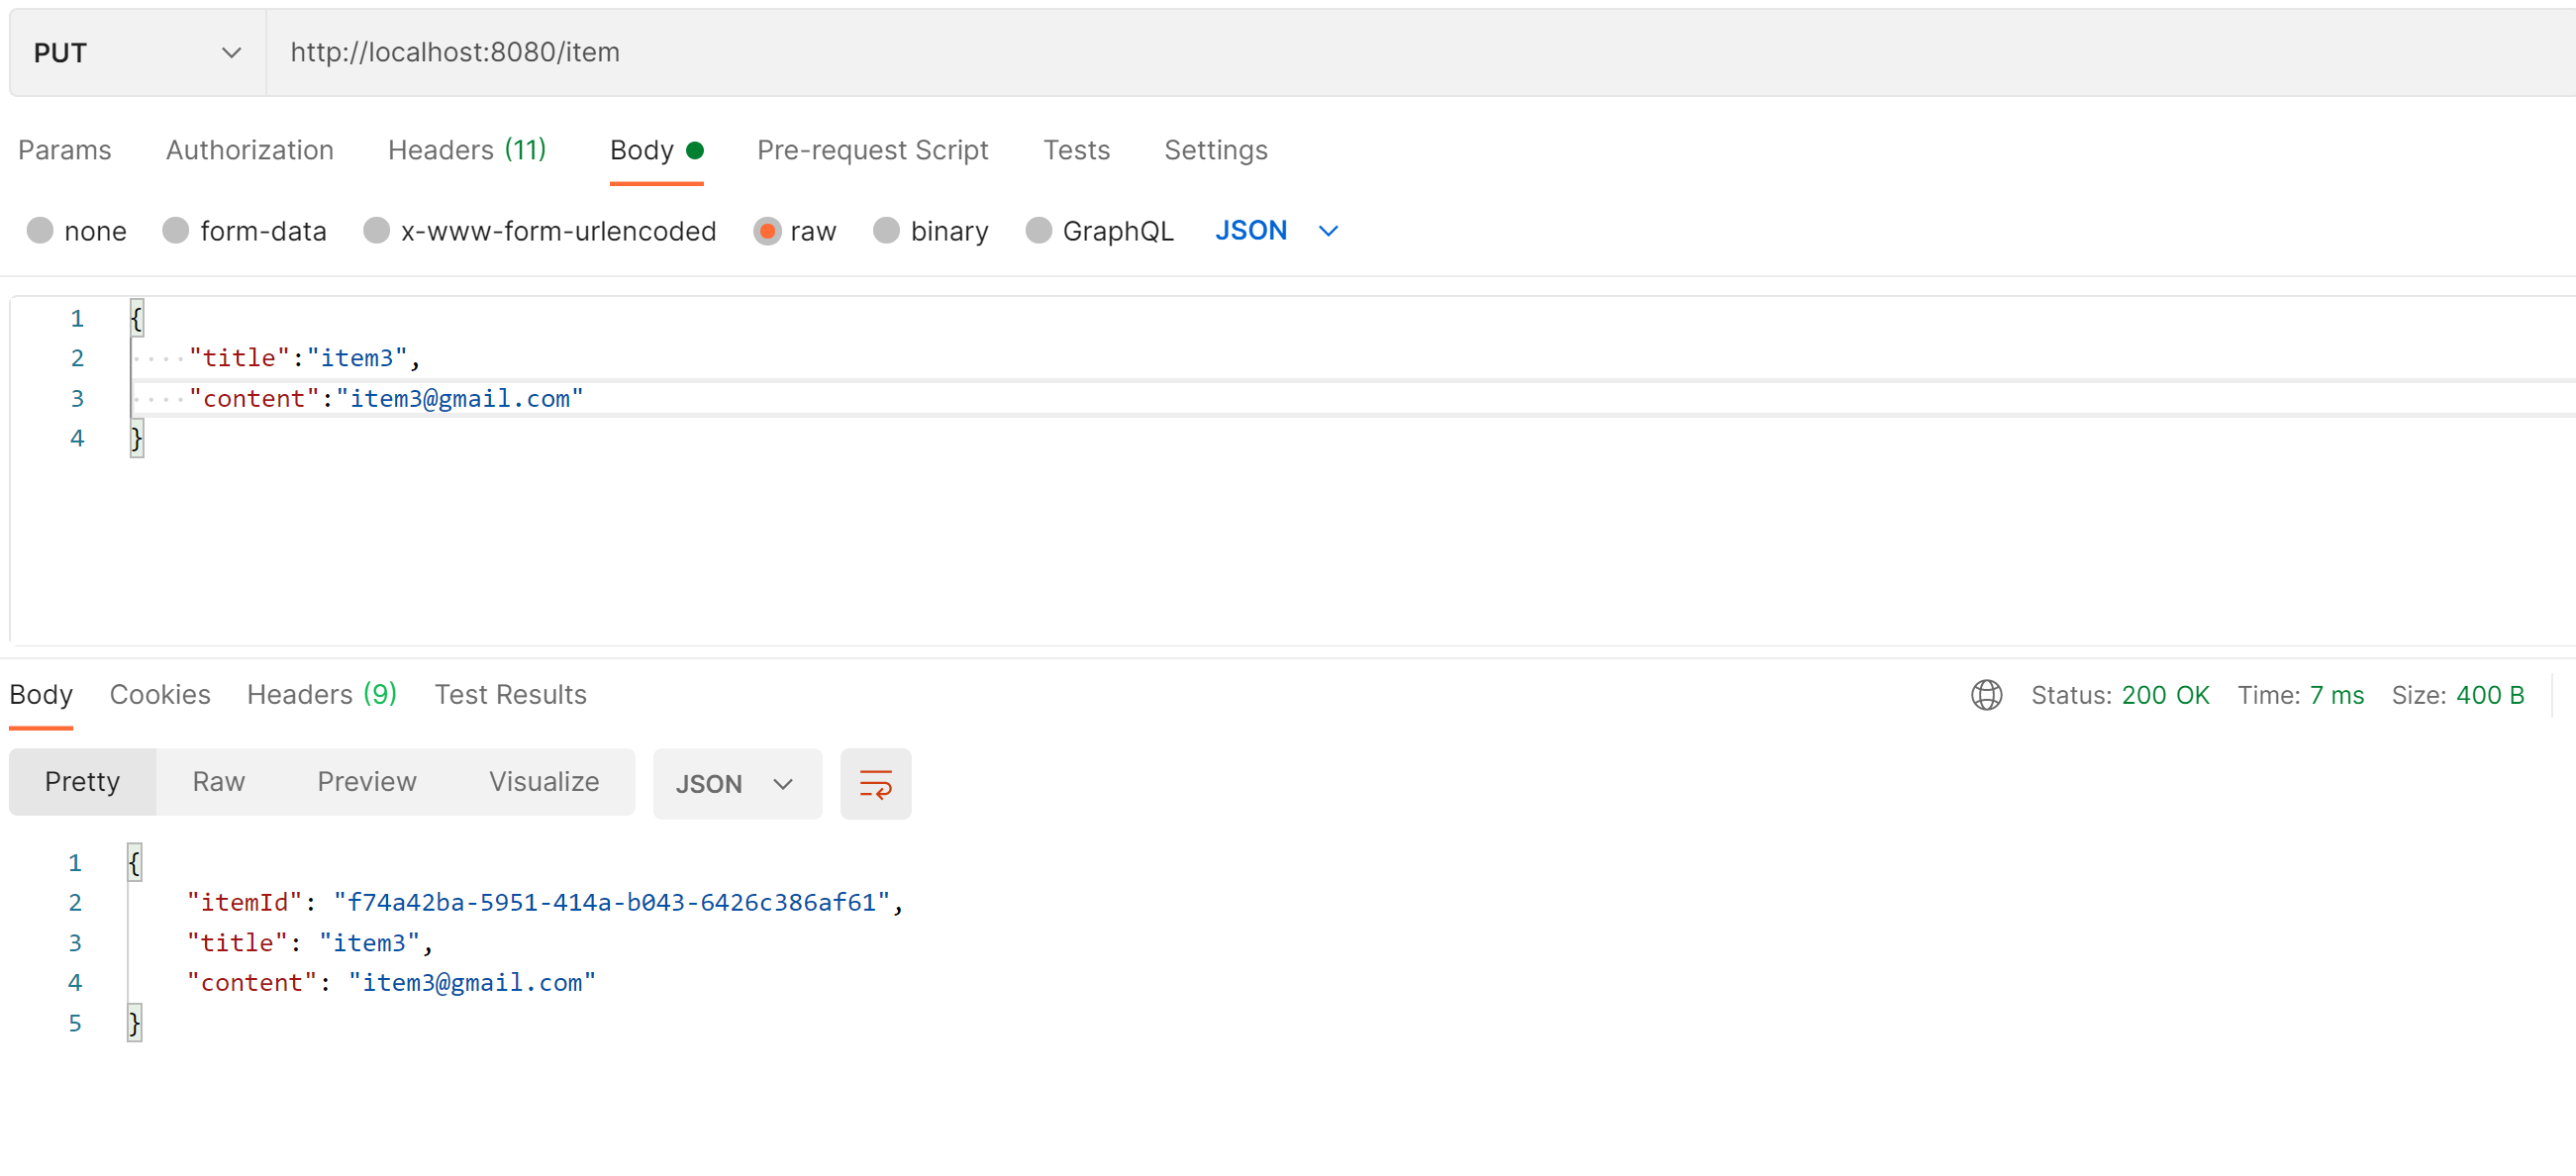
UPDATE
DELETE
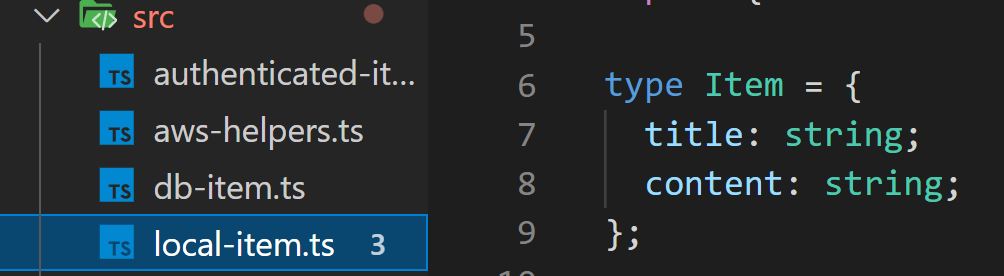
Now let's try to add a custom endpoint to this existing project. In the file local-item.ts, let's add this function:
export function customItem(req: Request, res: Response) {
  addHeadersToResponse(res);
  res.status(200).json("OK Custom Item")
}
This function is just for demo purposes!
In the file server.ts, let's add the custom route and import it:
app.get('/customItem', parser, getUser);
on the line 6 of the same file, let's update the list of imported methods:
import { deleteItem, getItem, putItem, updateItem, customItem } from "./local-item";
In order to test these changes, you should rebuild the project and test the new endpoint at /customItem
A Video version of this article is available at https://youtu.be/UxZiDZsQoZI


